


Growing carrots in containers might sound counterintuitive at first. After all, these root vegetables are famous for their downward growth, pushing deep into the earth to develop those sweet, crunchy taproots we love. But here's what I've learned over years of container gardening: with the right setup, you can grow carrots that rival anything from a traditional garden bed. In fact, containers often give you better control over soil quality, which means straighter, more uniform roots.
The beauty of container carrot growing lies in its accessibility. No backyard? No problem. Limited mobility? Containers bring the garden to you. Rocky or clay-heavy soil? You can bypass all those issues entirely. Let's dig into how to make your container carrot garden a success.
Why Containers Actually Work for Carrots
Carrots have a reputation for being particular about their growing conditions. They need loose, rock-free soil to develop straight roots. One small stone or compacted clump can cause a carrot to fork, twist, or become stunted. When you grow carrots in containers, you're creating the perfect environment from scratch. You control every element, from soil texture to drainage, which gives your carrots the best possible start.
Container growing also allows you to extend your growing season. You can move containers to catch the best sunlight or protect them from unexpected late frosts. This flexibility is something in-ground gardeners can only dream about.
Choosing the Right Container Depth
Container depth is the single most important factor in growing successful carrots. The rule is simple: your container must be deeper than the mature length of your carrot variety. Sounds obvious, but this is where many first-time container carrot growers stumble.
For short varieties like Parisian or Thumbelina carrots, which grow to about 2-3 inches long, you can get away with containers that are 8-10 inches deep. These little round or stubby carrots are perfect for shallow containers and mature quickly.
Medium varieties like Nantes and Danvers, which reach 6-8 inches at maturity, need containers at least 12 inches deep. These are the sweet spot for most container gardeners: they're substantial enough to feel like "real" carrots but don't require massive containers.
For long varieties like Imperator carrots, you'll want containers at least 18 inches deep. These can grow up to 10 inches long and need plenty of room to stretch out.
When choosing heirloom carrot seeds, consider your available container depth first. There's nothing more disappointing than watching your carrots hit the bottom of the container and start to curl or fork because they've run out of space.
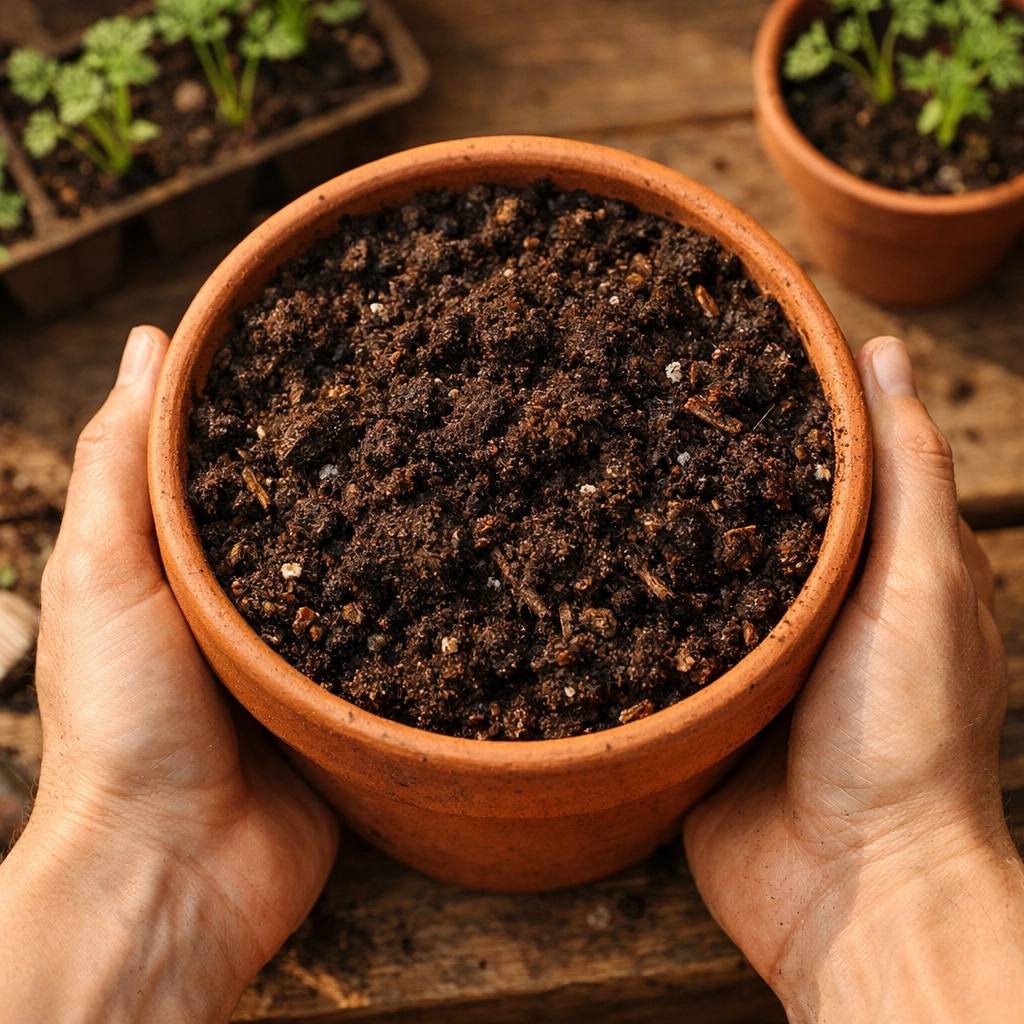
Preparing the Perfect Soil Mix
Loose, fluffy soil is non-negotiable for straight carrot roots. A dense or compacted growing medium will result in twisted, forked, or stunted carrots every single time.
Here's the soil recipe that has consistently worked for me: mix two-thirds quality potting soil with one-third finished compost. To this base, add a generous amount of bone meal: about 2-3 tablespoons per gallon of soil mix. Bone meal provides phosphorus, which is essential for strong root development in all root crops.
Never use garden soil in your containers. It's too heavy and compacts too easily, creating exactly the conditions carrots hate. Potting soil is specifically formulated to stay loose and drain well, which is what makes it ideal for container growing.
If you want to get fancy, you can add a handful of perlite or vermiculite to improve drainage even further. The goal is soil that feels light and airy when you run your fingers through it: almost fluffy.
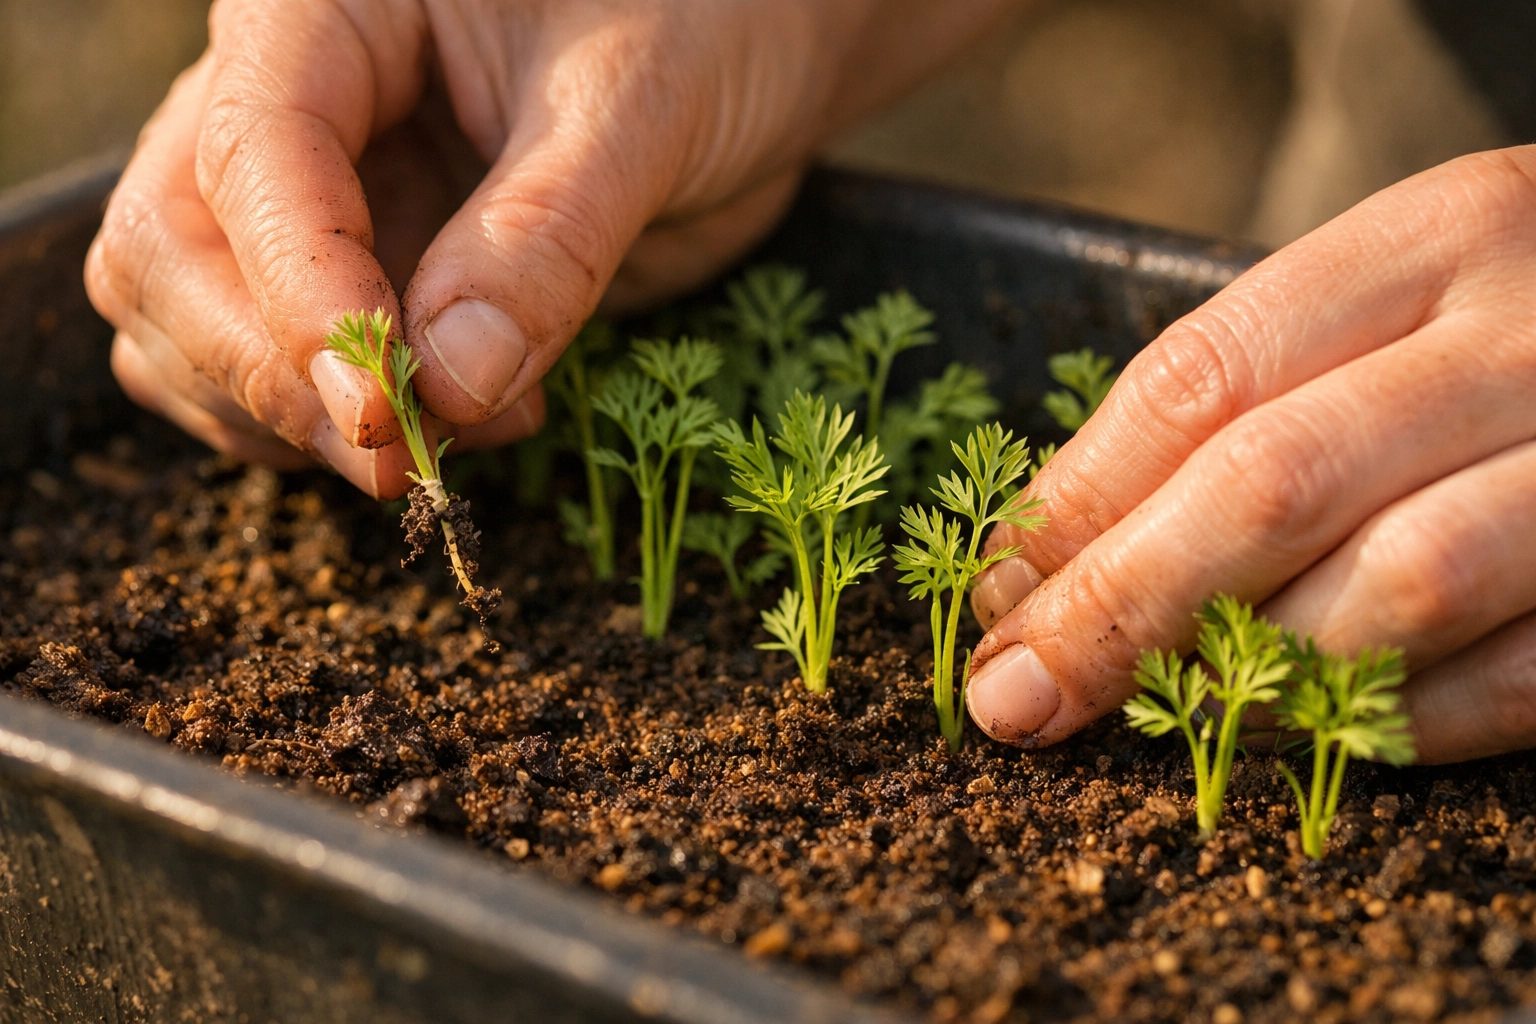
Planting Your Carrot Seeds
Carrot seeds are tiny, which makes spacing them a bit challenging. Here's my approach: sow seeds about half an inch apart across the surface of your container in a loose grid pattern. This maximizes your growing space without overcrowding. Cover the seeds with about a quarter inch of soil: no more. Carrot seeds need some light to germinate, so burying them too deep can prevent sprouting.
Water gently with a fine spray. A heavy stream can wash those tiny seeds around or bury them too deeply. Keep the soil surface consistently moist until germination occurs, which typically takes 10-14 days. Be patient: carrots are notoriously slow to germinate.
Once your seedlings reach about 2 inches tall, it's time to thin. This is the hardest part emotionally, but it's absolutely necessary. Remove the weakest seedlings so the remaining carrots have room to develop. For most varieties, leave 2-3 inches between plants. Wider varieties like Chantenay may need a full 3 inches of spacing.
Don't try to transplant the thinned seedlings: carrot roots don't like being disturbed, and they won't survive the move.
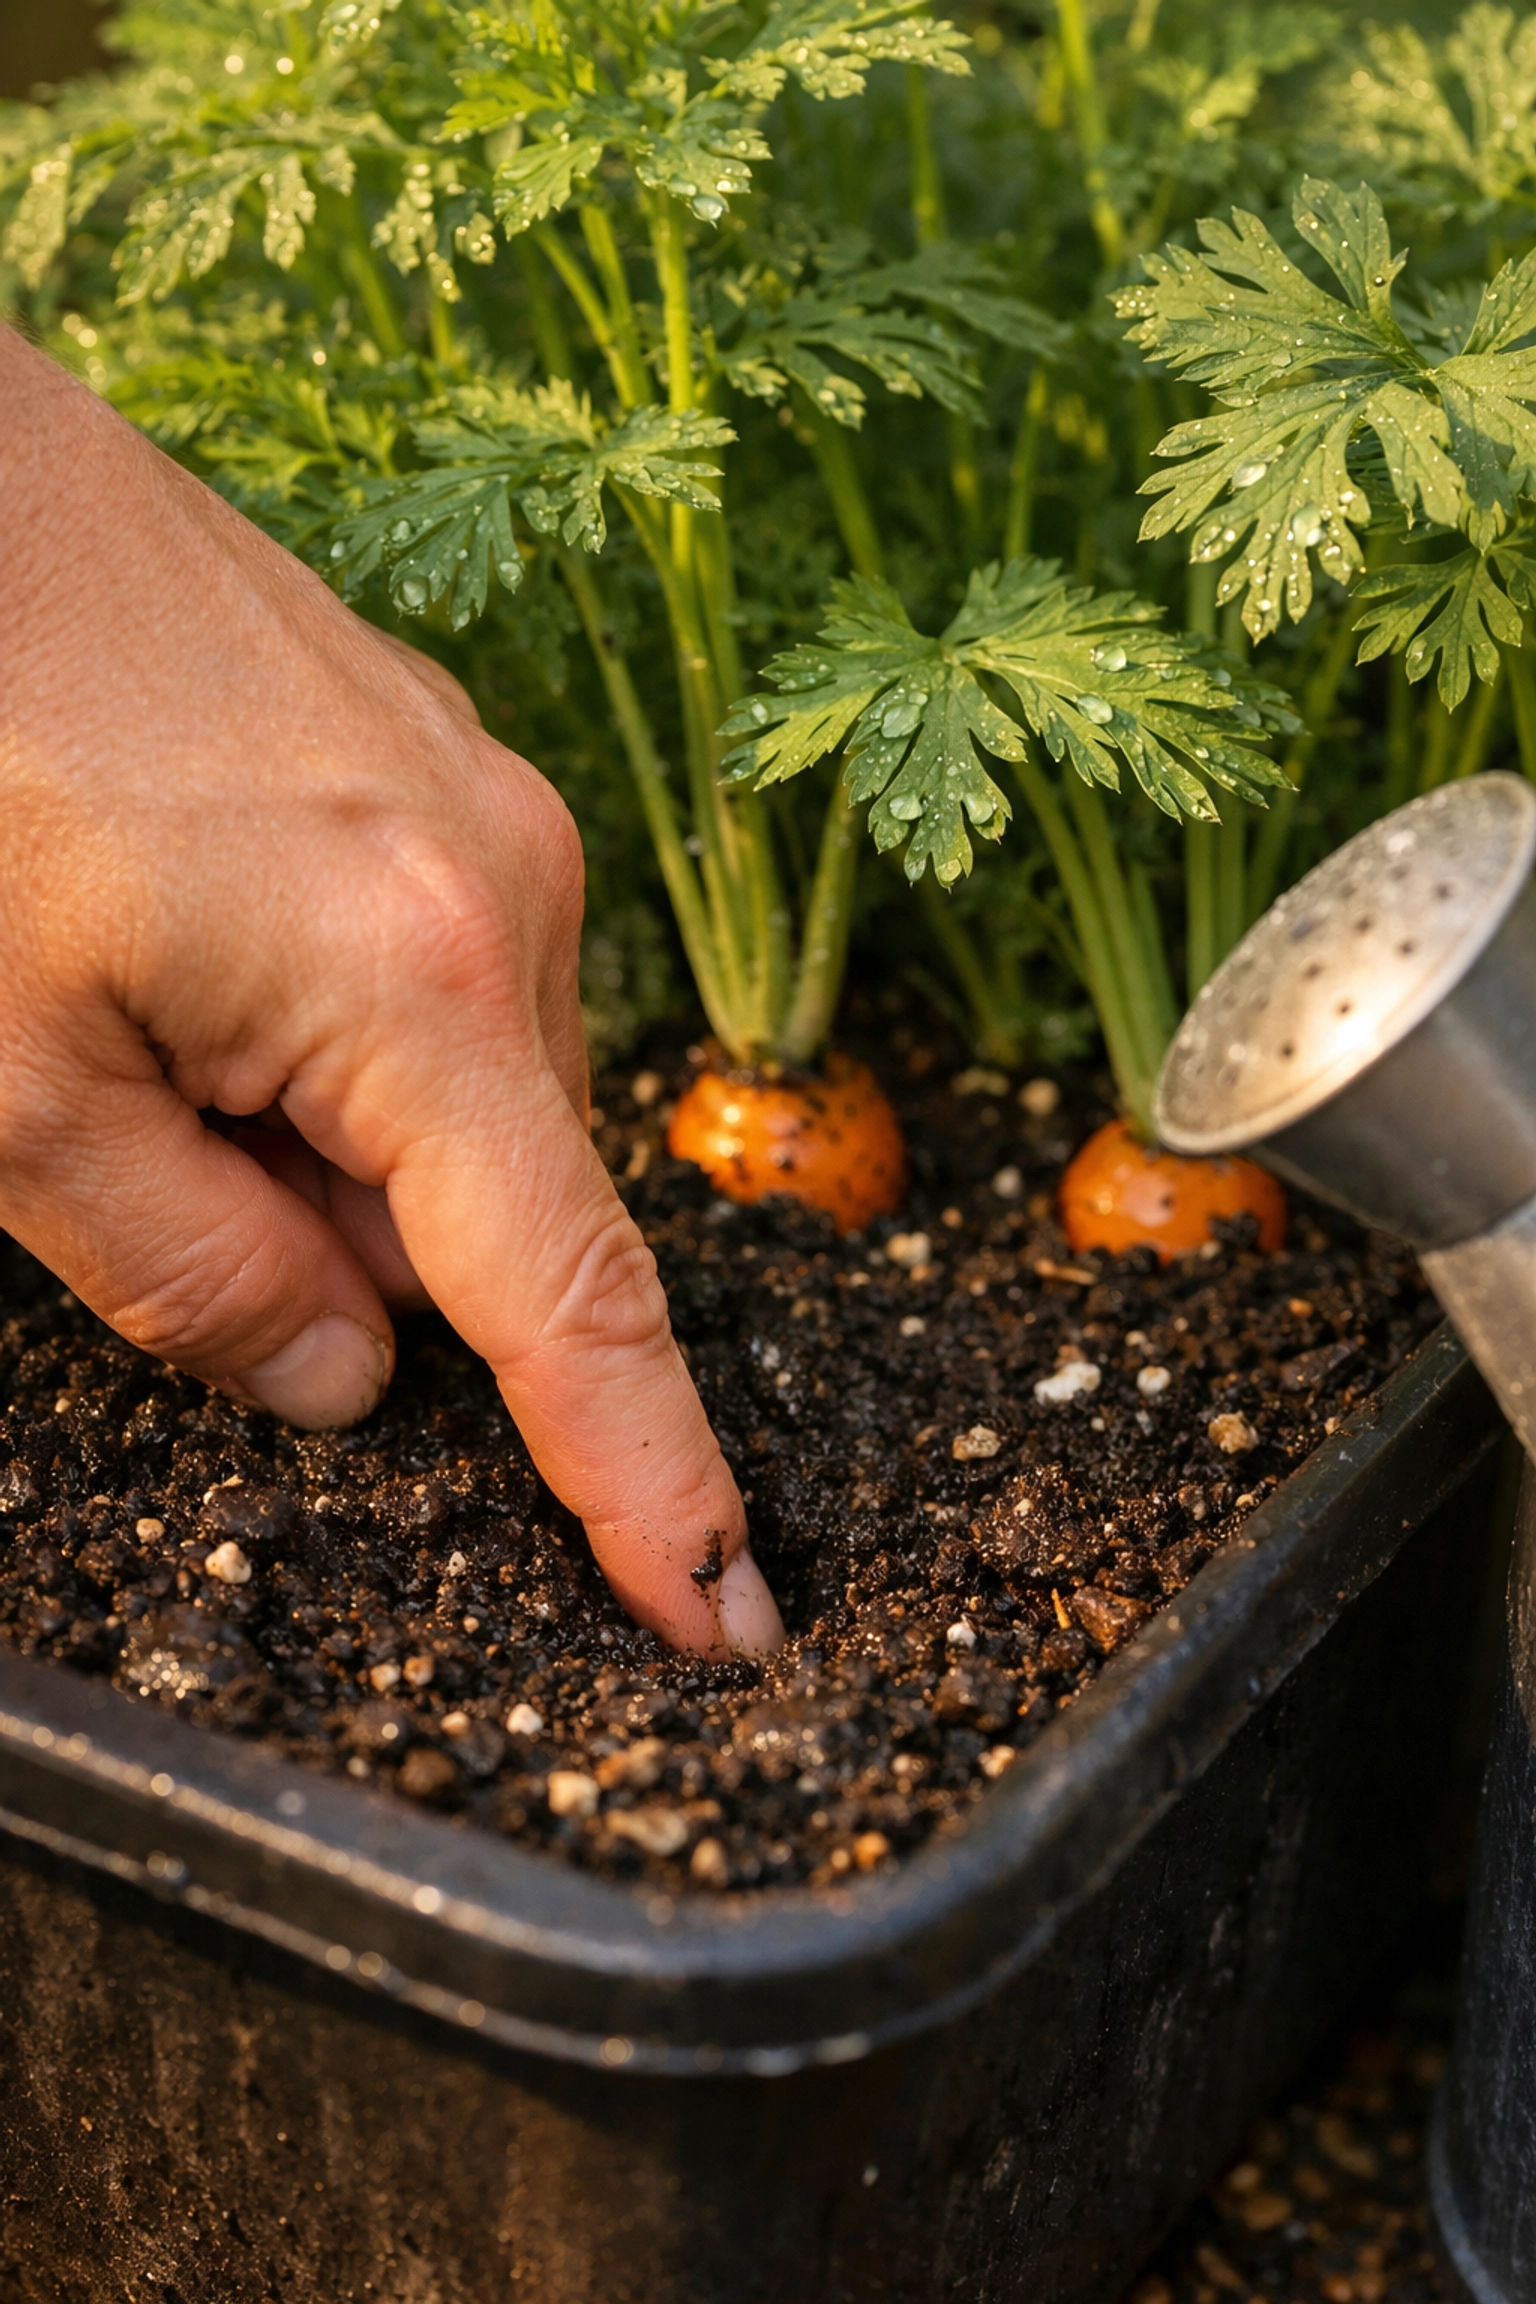
Watering: The Daily Check-In
Consistent moisture is critical for straight, healthy carrot roots. Drought-stressed carrots develop cracks, splits, or forked roots. But overwatering can lead to rot and disease. The goal is to keep the soil lightly moist but never waterlogged.
Check your containers daily, especially during hot weather. Insert your finger about an inch down into the soil. If it feels dry at that depth, it's time to water. During the heat of summer, you might need to water container carrots every single day. In cooler weather or if your containers are in partial shade, every other day might be sufficient.
The key is consistency. Wild fluctuations between dry and wet stress the plants and result in poor root quality. Think of watering as a daily conversation with your carrots: you're checking in to make sure they have what they need.
Feeding Your Container Carrots
Unlike leafy greens that thrive on nitrogen, root crops like carrots need a different nutritional approach. Too much nitrogen produces lush, bushy tops but small, hairy roots. Nobody wants that.
Feed your container carrots every 3-4 weeks with a balanced, low-nitrogen fertilizer. Look for formulations with equal or higher phosphorus and potassium numbers compared to nitrogen: something like a 5-10-10 ratio works beautifully. The phosphorus supports root development, while potassium improves overall plant health and disease resistance.
If you're using compost in your soil mix, you may not need to fertilize as frequently. The compost will slowly release nutrients throughout the growing season. Watch your plants: if the foliage looks pale or growth seems slow, increase feeding frequency slightly.
Sunlight and Positioning
Carrots need 6-8 hours of direct sunlight daily to develop sweet, flavorful roots. Position your containers in the sunniest spot available. If you only have partial sun, choose shorter carrot varieties, which tend to be more forgiving of less-than-ideal light conditions.
One advantage of containers is mobility. If you notice one side of your container getting more sun, rotate it every few days to ensure even growth. This simple step can make a significant difference in the uniformity of your harvest.
The Shoulder Problem
As your carrots grow, you might notice the tops of the roots pushing up above the soil line. These exposed "shoulders" can turn green and bitter when exposed to sunlight. The fix is simple: gently mound additional potting mix around the base of the plants, covering the exposed root tops.
Check for this issue every week or so during the main growing period. It takes just a minute to add a little extra soil, and it ensures your entire harvest stays sweet and delicious.
Harvesting Your Container Carrots
Most carrot varieties mature in 60-80 days, depending on the variety and growing conditions. You'll know they're ready when you can see the shoulders at the soil surface reaching the diameter promised on your seed packet.
The beauty of container carrots is how easy they are to harvest. Simply loosen the soil around the edges of the container with your fingers, then gently pull the carrots straight up. The loose potting mix releases them easily: no digging required.
If you want to extend your harvest, you can pull carrots as you need them. In cooler climates, carrots can stay in containers well into fall, becoming sweeter as temperatures drop. Just protect them from hard freezes, and they'll keep growing until you're ready to harvest.
Final Thoughts
Growing carrots in containers opens up possibilities for gardeners who thought they couldn't grow these sweet root vegetables. With the right container depth, proper soil preparation, and consistent care, you can enjoy homegrown carrots no matter your space limitations. The satisfaction of pulling a perfect, straight carrot from a container you prepared yourself never gets old.
Start with quality heirloom seeds and give your carrots the depth and care they need. Your patience will be rewarded with a harvest that tastes worlds better than anything from the grocery store. The journey from tiny seed to crunchy, sweet carrot is one of gardening's most satisfying experiences: even when it happens entirely above ground in a container.