


There's something deeply satisfying about pulling up a perfect head of garlic that you planted months ago. Over my years of gardening, I've learned that garlic is one of those crops that rewards patience and good timing. Fall planting might seem counterintuitive: why plant something right before winter?: but trust me, it's the secret to growing those beautiful, plump bulbs that make spring-planted garlic look downright puny.
Let me walk you through everything you need to know about fall garlic planting, from timing to harvest.
Why Fall Planting Makes All the Difference
Here's the thing about garlic: it needs a cold period to develop properly. When you plant in fall, those cloves spend the winter developing strong root systems underground while the tops stay dormant. Come spring, they've got a head start that spring-planted garlic simply can't match. The result? Bigger bulbs with better flavor and storage quality.
Think of it like this: garlic needs to experience winter's chill to split into those nice individual cloves we all love. Without that cold period, you might end up with a single, undivided bulb. Not exactly what you're going for when you're dreaming of that papery, perfectly segmented garlic head.
Timing Your Planting Window
The golden rule for fall garlic planting is to get those cloves in the ground about 6 weeks before your soil freezes solid. For most northern gardeners, that means mid-October is your sweet spot. If you're in the middle or southern sections of the country, you've got a bit more flexibility and can plant later into November.
I like to watch for the first frost as my signal. Once that happens and the soil has cooled down, it's go time. Planting too early can cause problems: those eager cloves might send up green shoots that waste precious energy. But late September in northern regions actually works well, giving the garlic time to root down and develop a strong foundation before the deep freeze arrives.
Can you plant even later? Sure. I've seen gardeners successfully plant into frozen ground, though it's trickier and your success rate drops if those cloves don't get a chance to establish roots before the hard freezes hit.
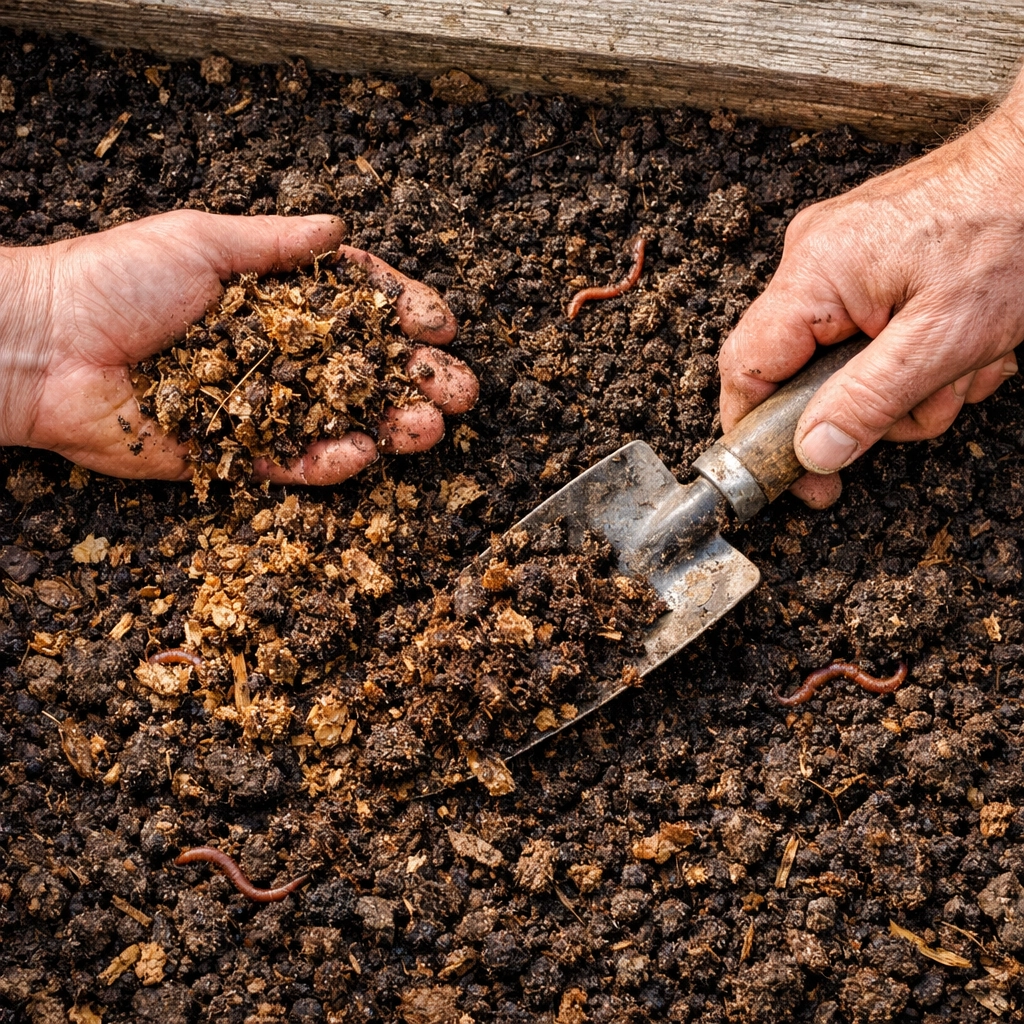
Preparing Your Soil
Good soil preparation is non-negotiable with garlic. These plants are going to be in the ground for nearly a year, so you want to give them the best possible home from the start.
Drainage is everything. Garlic absolutely hates wet feet. If your cloves sit in waterlogged soil, they'll rot faster than you can say "garlic bread." Take a good look at your planting area: does water pool there after rain? If so, consider building a raised bed or choosing a different spot with better natural drainage.
A few weeks before planting, work in plenty of organic matter. I'm talking about the good stuff: well-composted kitchen scraps, aged cow or chicken manure, or chopped autumn leaves. Apply about an inch of compost per 100 square feet: more isn't always better here. You want to enrich the soil without going overboard.
Mix in a complete organic fertilizer as well, working everything into the top 6 inches of soil. This initial prep gives your garlic the nutrients it needs to establish those critical roots during fall and early winter.
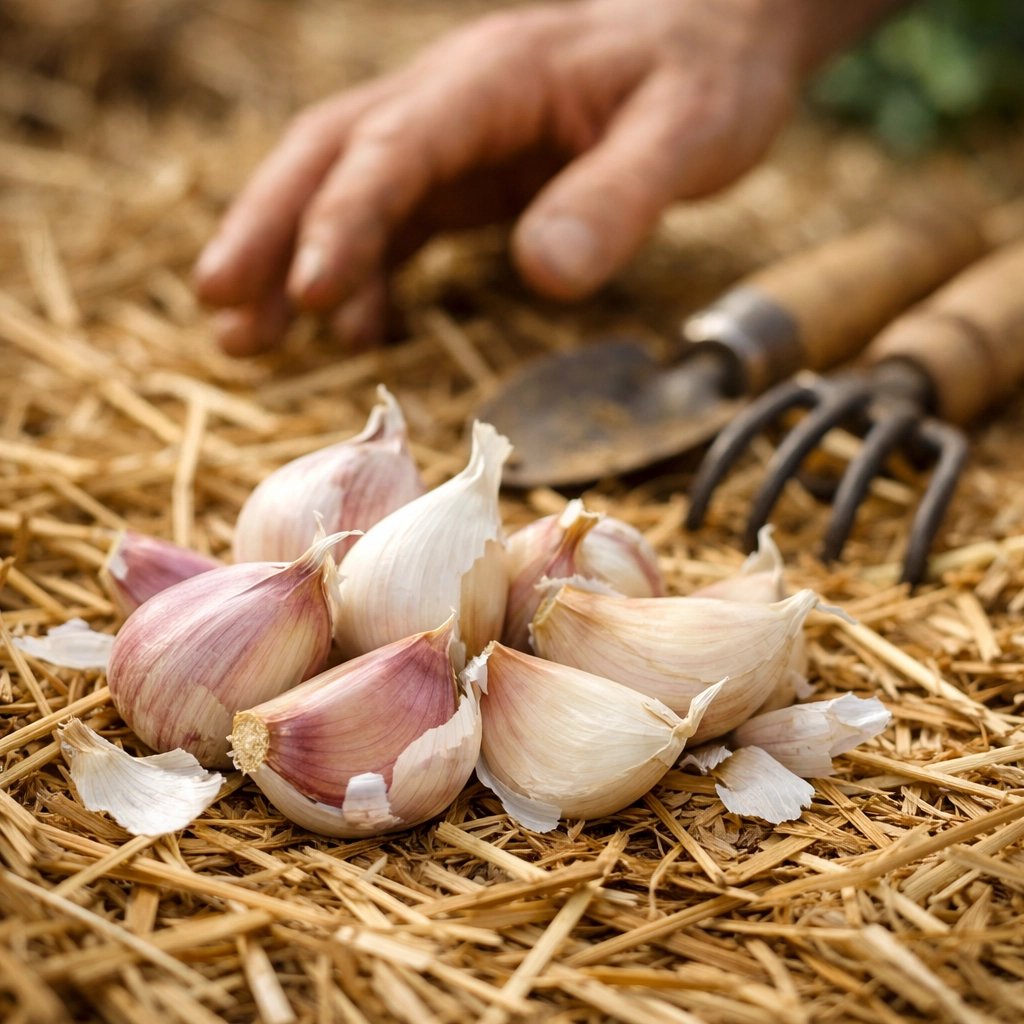
Selecting and Preparing Your Cloves
Quality matters when you're choosing garlic for planting. Using heirloom varieties gives you the best flavor and adaptability to your local climate. These aren't the grocery store bulbs that have been treated to prevent sprouting: you want robust, untreated cloves that are ready to grow.
Right before planting, here's a trick that's served me well: soak your garlic bulbs in a fish emulsion mixture for a few hours. This little bath promotes faster rooting, which is especially helpful if you're planting on the later side of the window.
When you're ready to plant, carefully separate your bulbs into individual cloves. Handle them gently: you want to keep that papery skin intact. Choose the largest cloves for planting. Those smaller cloves? Save them for cooking. The bigger cloves produce bigger bulbs, plain and simple.
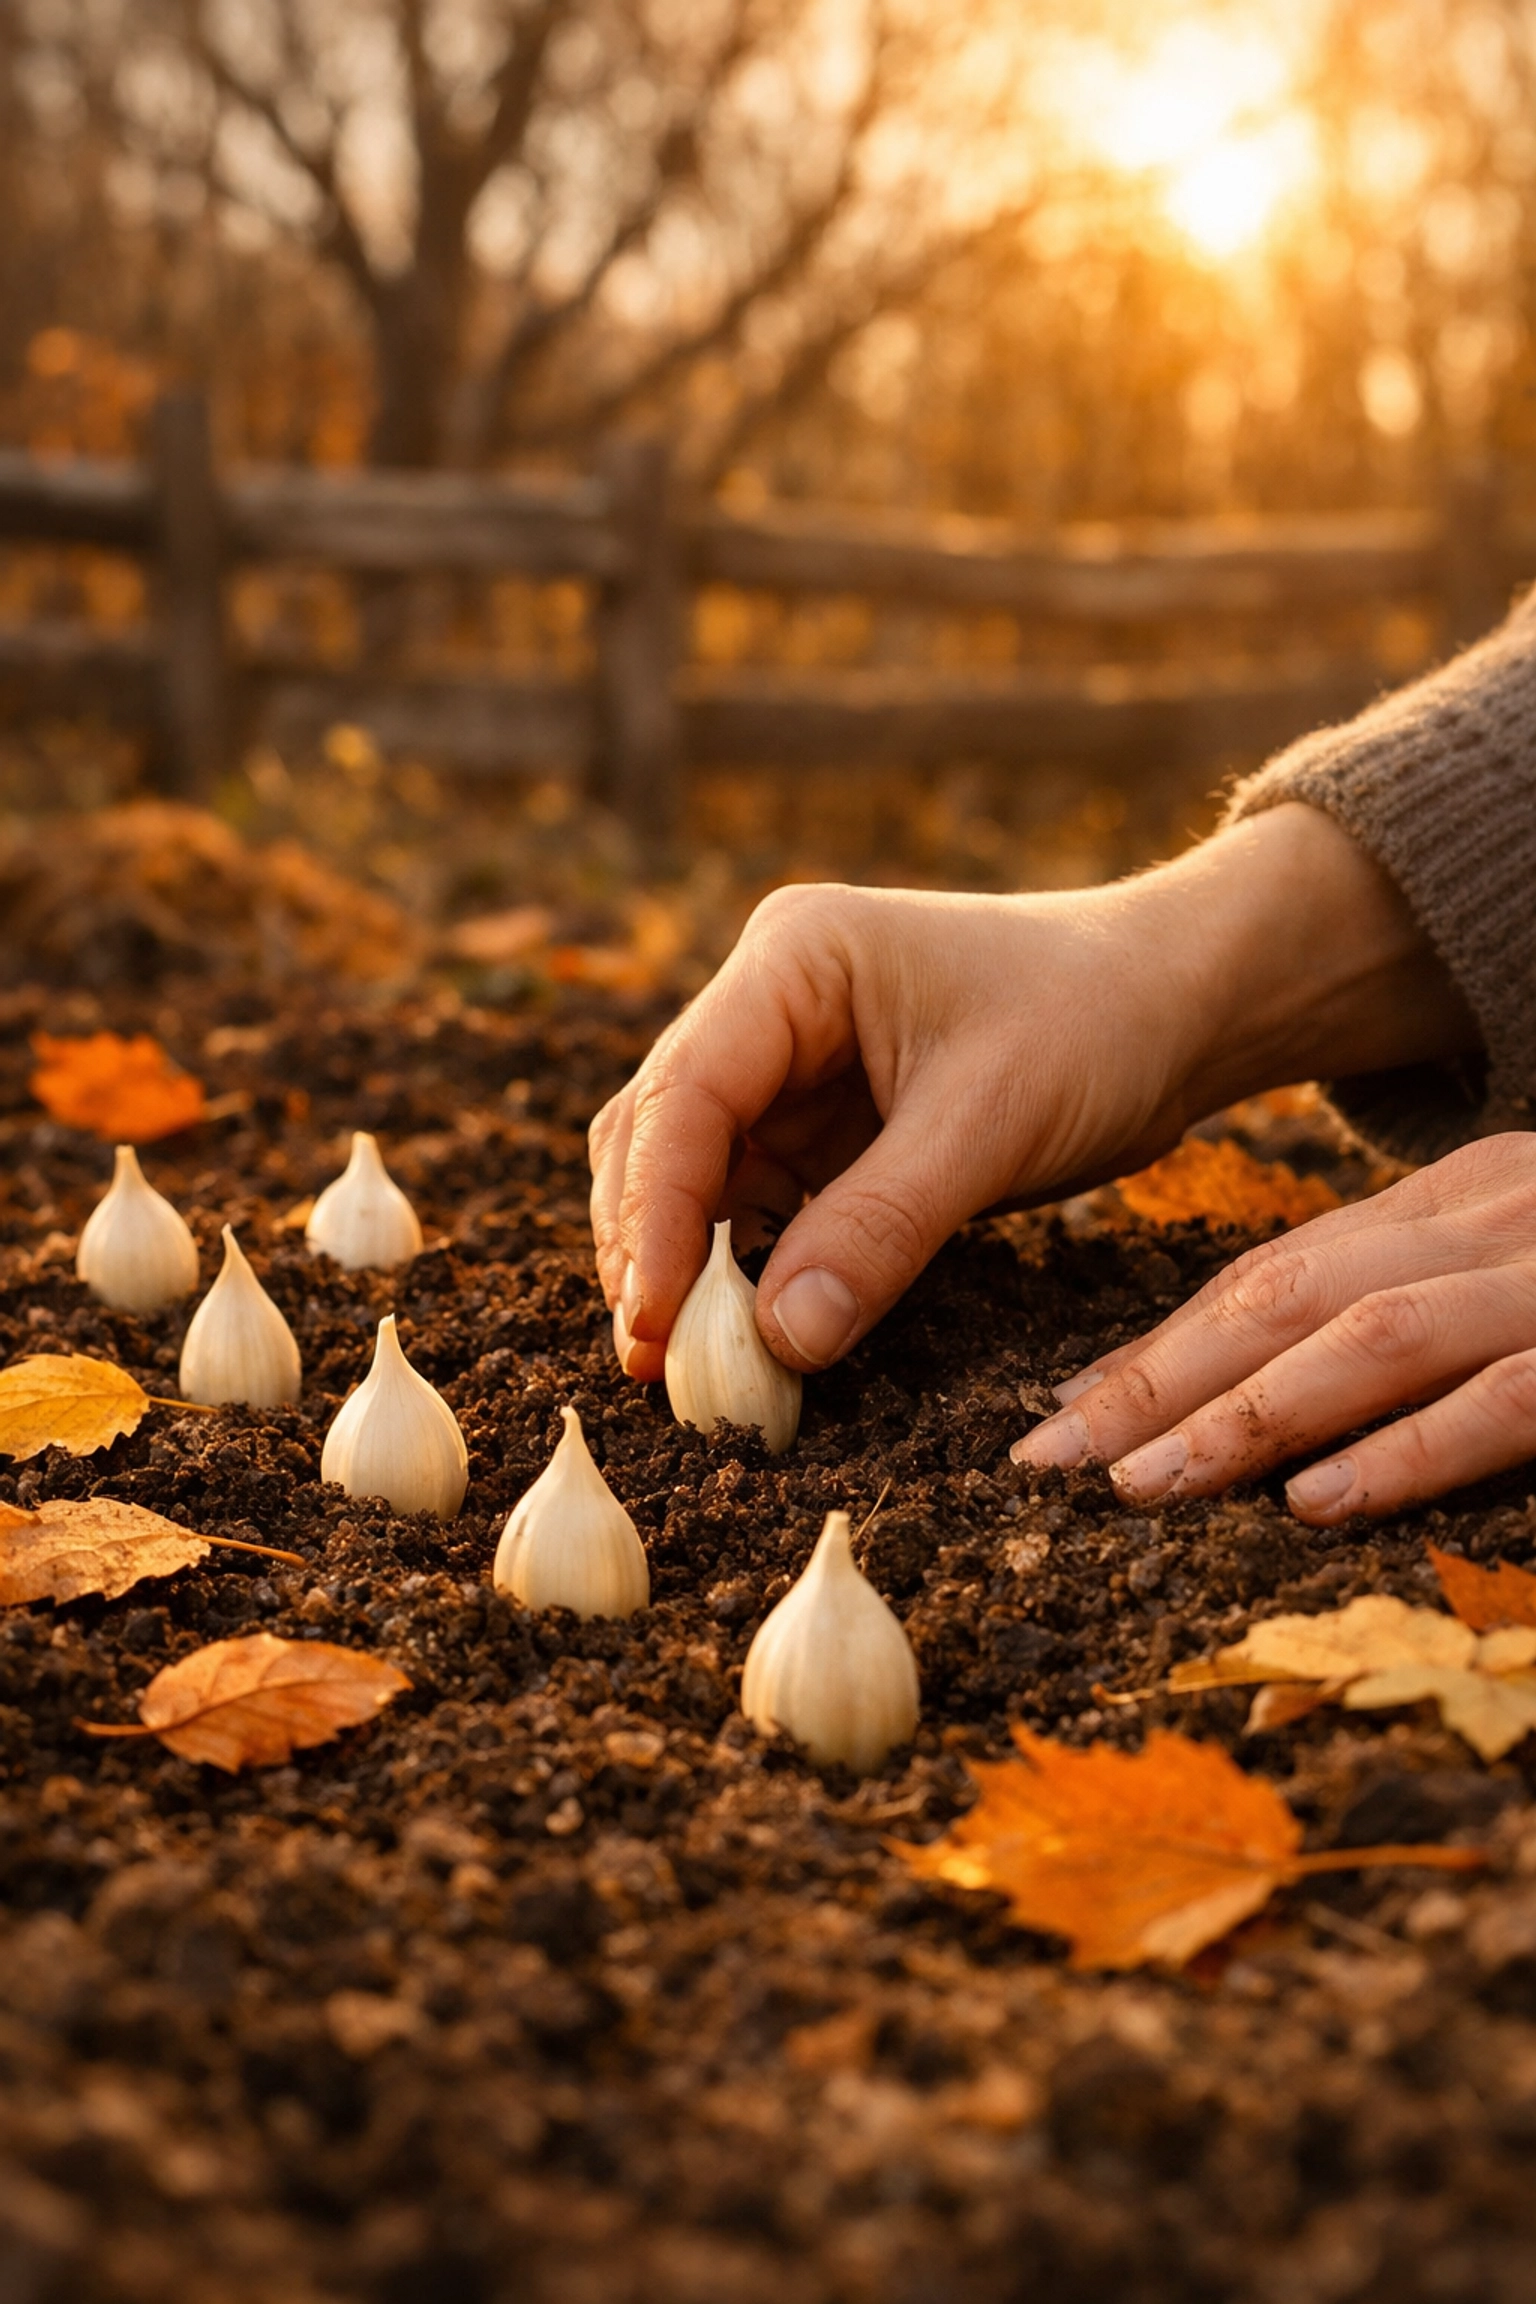
The Planting Process
Now for the fun part. Here's your step-by-step planting guide:
Step 1: Create Your Rows Use a hoe or your finger to create furrows about 2-3 inches deep. Space your rows 6-10 inches apart, depending on how much room you've got to work with.
Step 2: Plant the Cloves Take each clove and push it into the soil with the pointy end facing up and the flat root end down. This seems obvious, but you'd be surprised how easy it is to get turned around when you're planting a couple hundred cloves. Space them 3-4 inches apart within the row.
Step 3: Water Thoroughly Before you cover those rows back up with soil, give everything a good watering with that same fish emulsion mixture you used for soaking. This helps settle the soil around the cloves and gives them an extra nutrient boost.
Step 4: Cover and Mulch Rake soil back over your planted rows, then comes the most important step: mulching. Spread a thick layer of straw or leaves over the entire garlic bed. I mean thick: we're talking 4-6 inches here.
This mulch does more work than you might think. It insulates those cloves during the cold months, keeps weeds from taking over, retains moisture in the soil, and breaks down over time to add more organic matter. In colder regions, that heavy mulch layer can make the difference between success and failure.
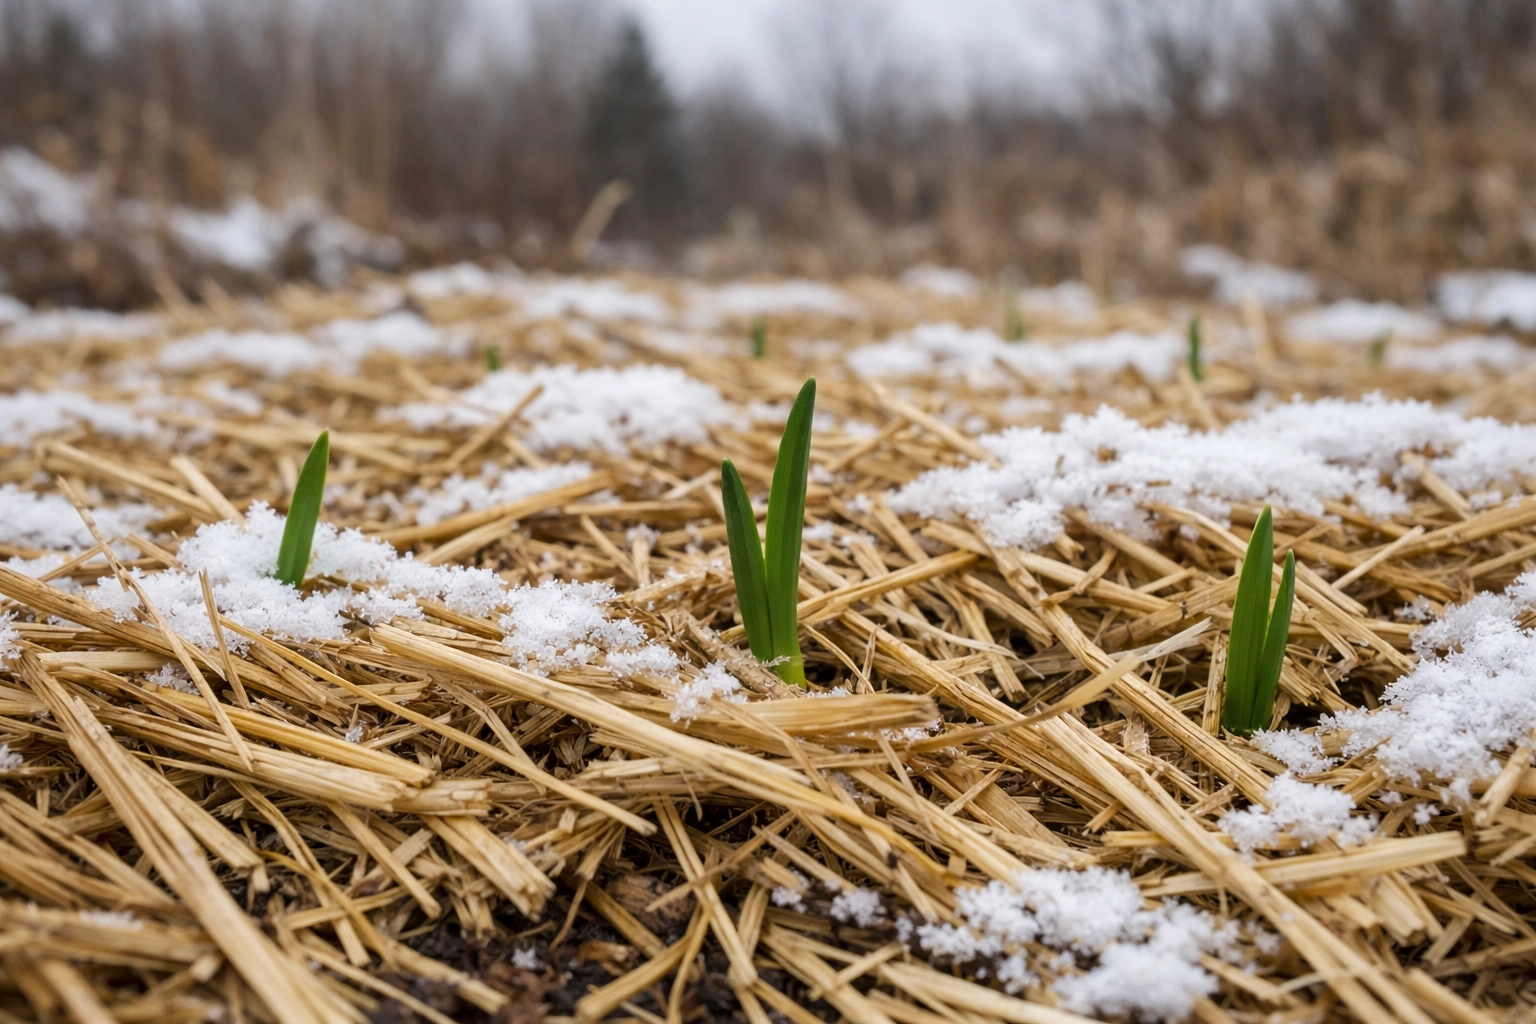
Winter Care (Or Lack Thereof)
Here's the beauty of fall-planted garlic: it mostly takes care of itself during winter. Those cloves are happily dormant under their mulch blanket, with roots slowly developing underground even when there's snow on top. You don't need to do anything except maybe check that your mulch hasn't blown away if you get strong winter winds.
The dormancy period isn't just restful: it's actually essential for proper bulb development. That cold stratification is what tells the garlic to divide into cloves rather than staying as one solid bulb.
Spring Management
When spring arrives and your garlic starts poking green shoots through the mulch, it's time to pay attention again. Once the plants reach about 6 inches tall: usually around early May in most areas: pull back some of that heavy winter mulch. You don't need to remove it completely; just thin it out so the soil can warm up and the plants can grow freely.
This is also the time to apply a slow-release organic fertilizer. Those plants are shifting from root development to bulb building, and they need the extra nutrients to do it right.
If you're growing hardneck garlic varieties (which I highly recommend for cold climates), you'll notice curly flower stalks called scapes appearing in late spring. Cut these off when they start to curl. While the scapes themselves are delicious (seriously, try them stir-fried or in pesto), leaving them on diverts energy away from bulb development. You want all that plant power going into creating big, beautiful heads of garlic.
Harvest Time
By early to mid-summer, usually late June or July depending on your location, your garlic will be ready to harvest. You'll know it's time when the lower leaves start turning brown but the top leaves are still green. Pull up one bulb to check: if the cloves are well-formed and the wrappers are papery, it's harvest time.
The entire journey from fall planting to summer harvest takes about 9 months, but the actual hands-on time is surprisingly minimal. A few hours of work in fall, some light spring maintenance, and you're rewarded with a year's supply of incredible, home-grown garlic that beats anything you'll find at the grocery store.
Why It's Worth the Wait
Growing garlic from fall planting teaches you patience and planning in the garden. There's something special about putting those cloves in the ground as the year winds down, trusting that they'll do their thing underground while you're busy with winter activities, and then watching them emerge in spring as one of your garden's first green signs of life.
The flavor of home-grown heirloom garlic is incomparable: more complex, more robust, and perfectly suited to your local growing conditions. Plus, you can save your biggest bulbs from each harvest to replant, creating your own strain that gets better adapted to your garden year after year.
So this fall, when everyone else is putting their gardens to bed, consider planting some garlic. Your spring self will thank you, and your summer self will be absolutely thrilled when you're pulling up those gorgeous bulbs.