


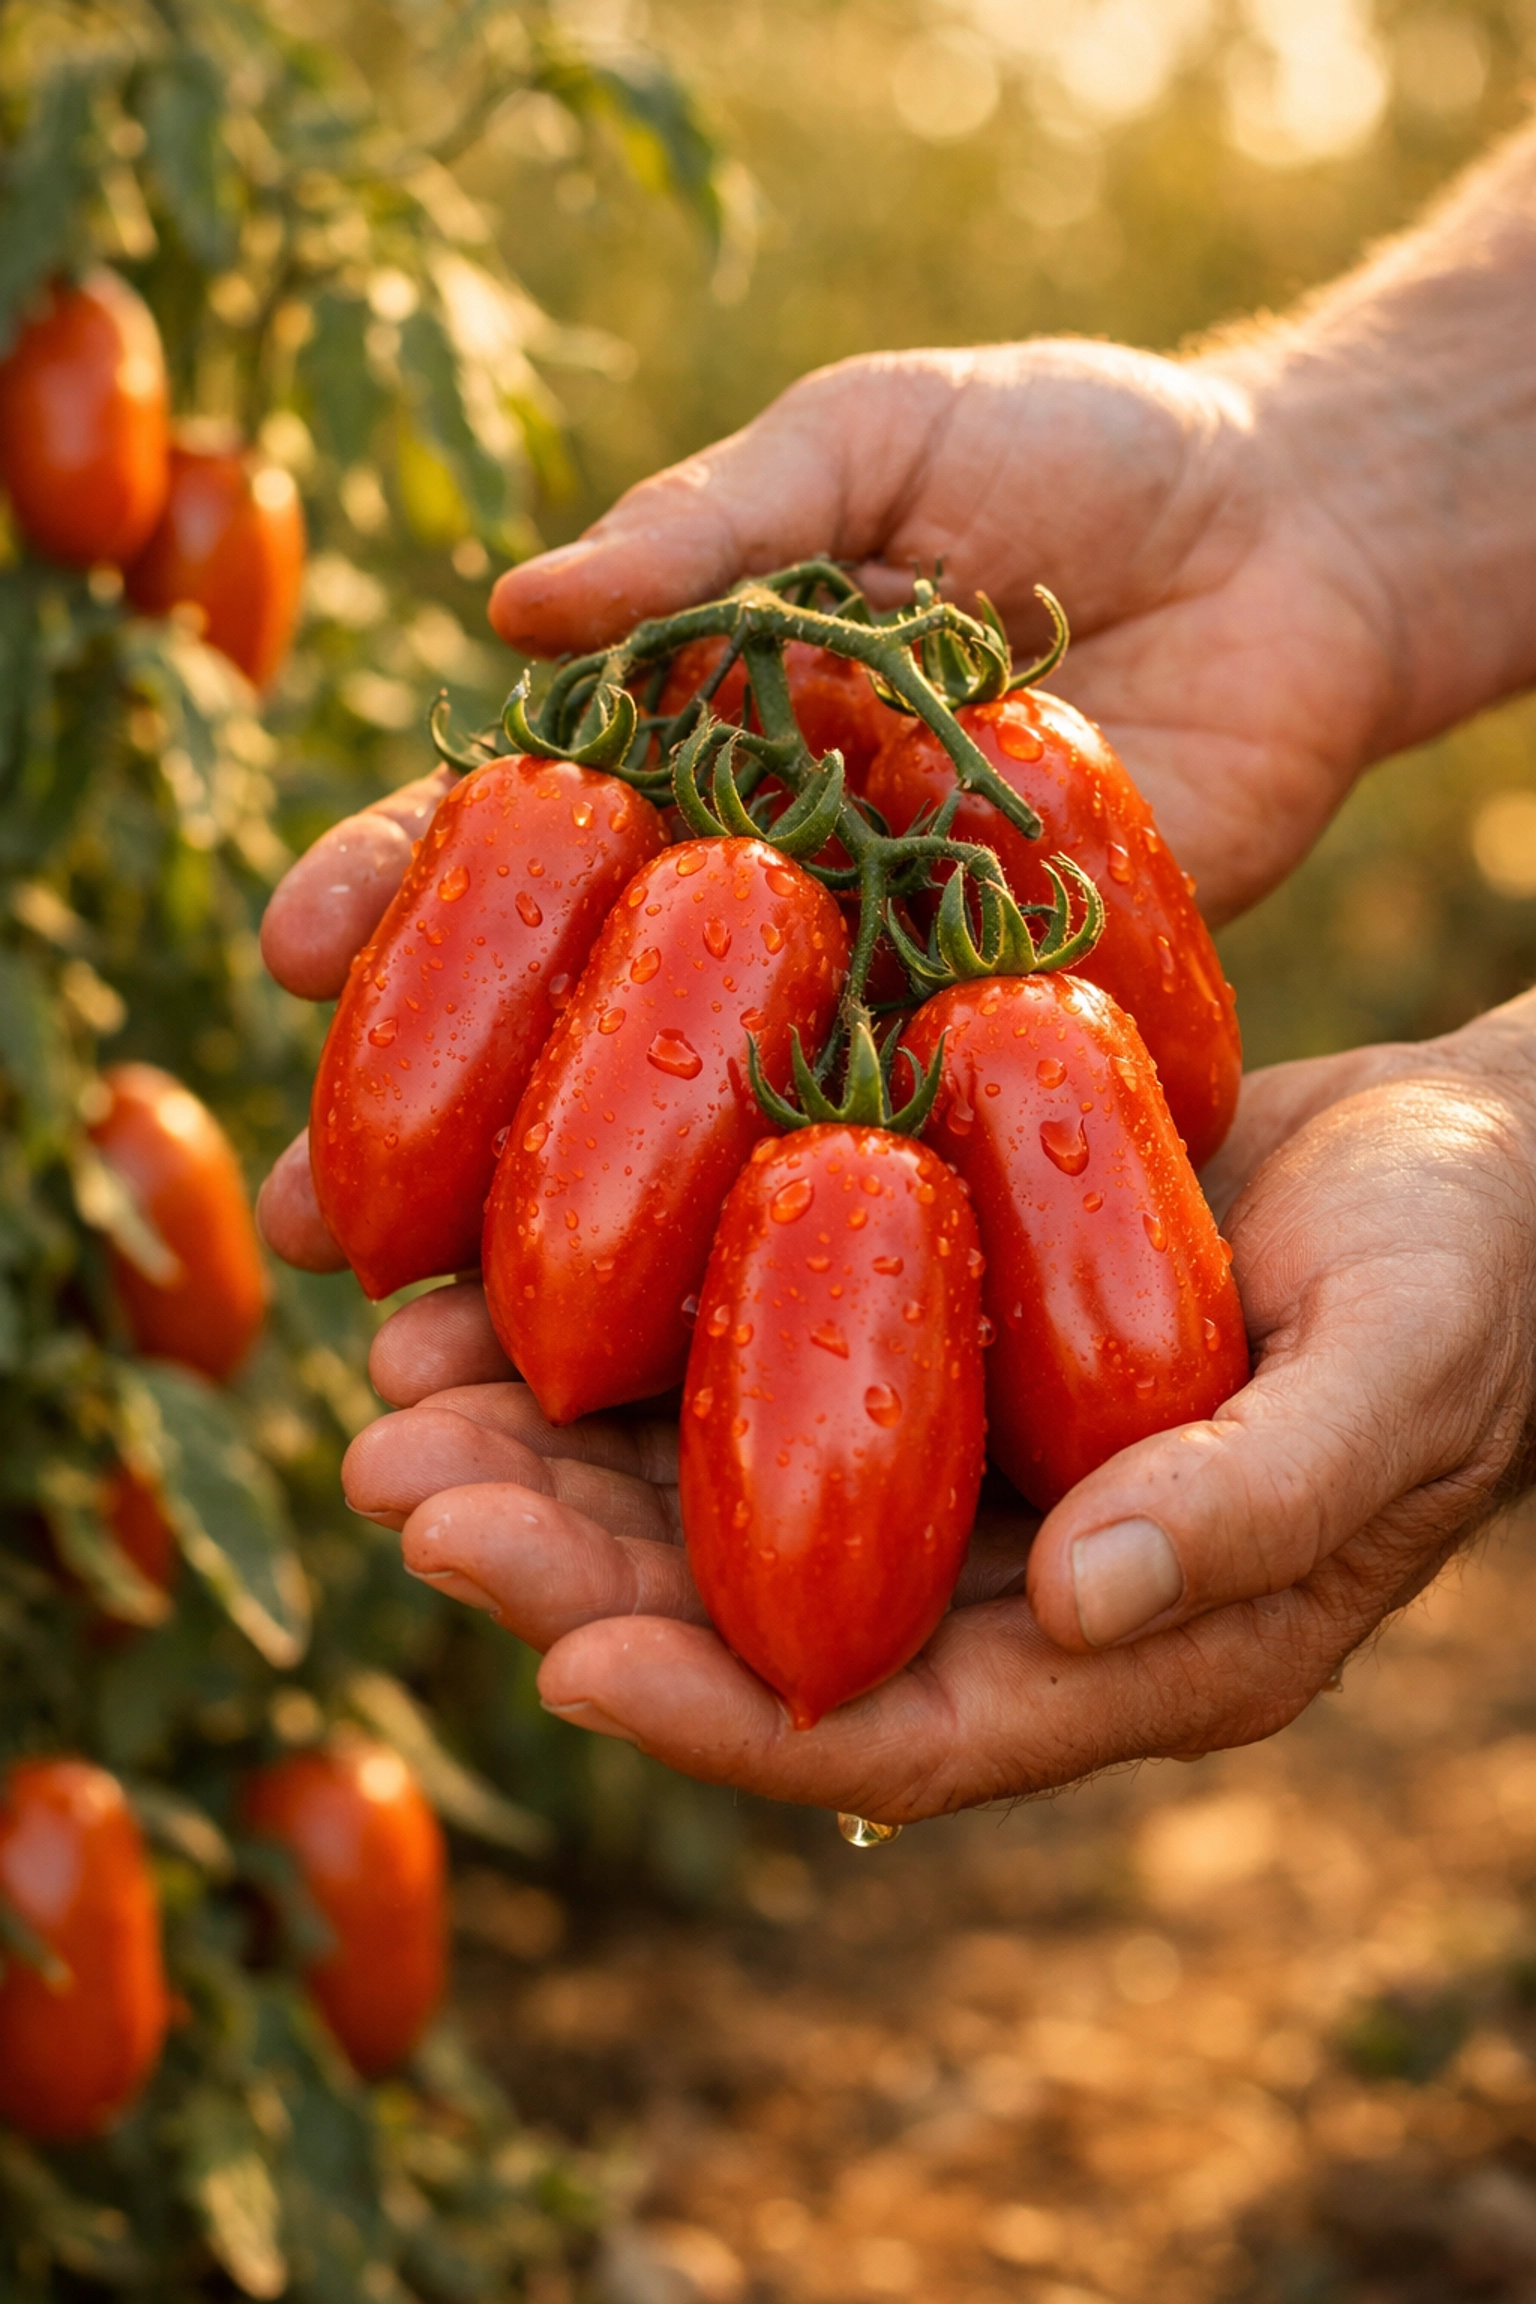
If you've ever tasted a truly great marinara sauce, the kind that makes you close your eyes and sigh, there's a good chance San Marzano tomatoes were behind that magic. These elongated Italian beauties aren't just another tomato variety. They're the gold standard for sauce-making, packed with dense, meaty flesh and fewer seeds than your average slicing tomato. Growing them in your own garden means you're just months away from pasta sauces that'll have your family asking for seconds.
I've grown San Marzanos for years now, and while they do ask for a bit more patience than some other varieties, the payoff is absolutely worth it. Let's walk through everything you need to know to grow these sauce champions from seed to harvest.
Why San Marzano Tomatoes Are Worth the Effort
San Marzano tomatoes originated in the volcanic soil near Mount Vesuvius in Italy, and they've been the backbone of Italian cuisine for generations. What makes them so special? Their flavor is rich and sweet with low acidity, and their firm, almost dry flesh means less watering down your sauce. When you simmer a pot of San Marzanos, they break down into a thick, velvety consistency that clings to pasta like it was meant to be there.
These are indeterminate tomatoes, meaning they'll keep growing and producing fruit throughout the season until frost takes them down. Expect them to take 78-90 days from transplanting to reach maturity, so they're definitely a commitment. But trust me, once you taste the difference, you'll understand why home gardeners and professional chefs alike swear by them.
Starting Seeds Indoors: Timing Is Everything
San Marzanos need warmth and a decent head start, so you'll want to begin seeds indoors about eight weeks before your area's last average frost date. If you're not sure when that is, check out understanding hardiness zones to get your bearings.
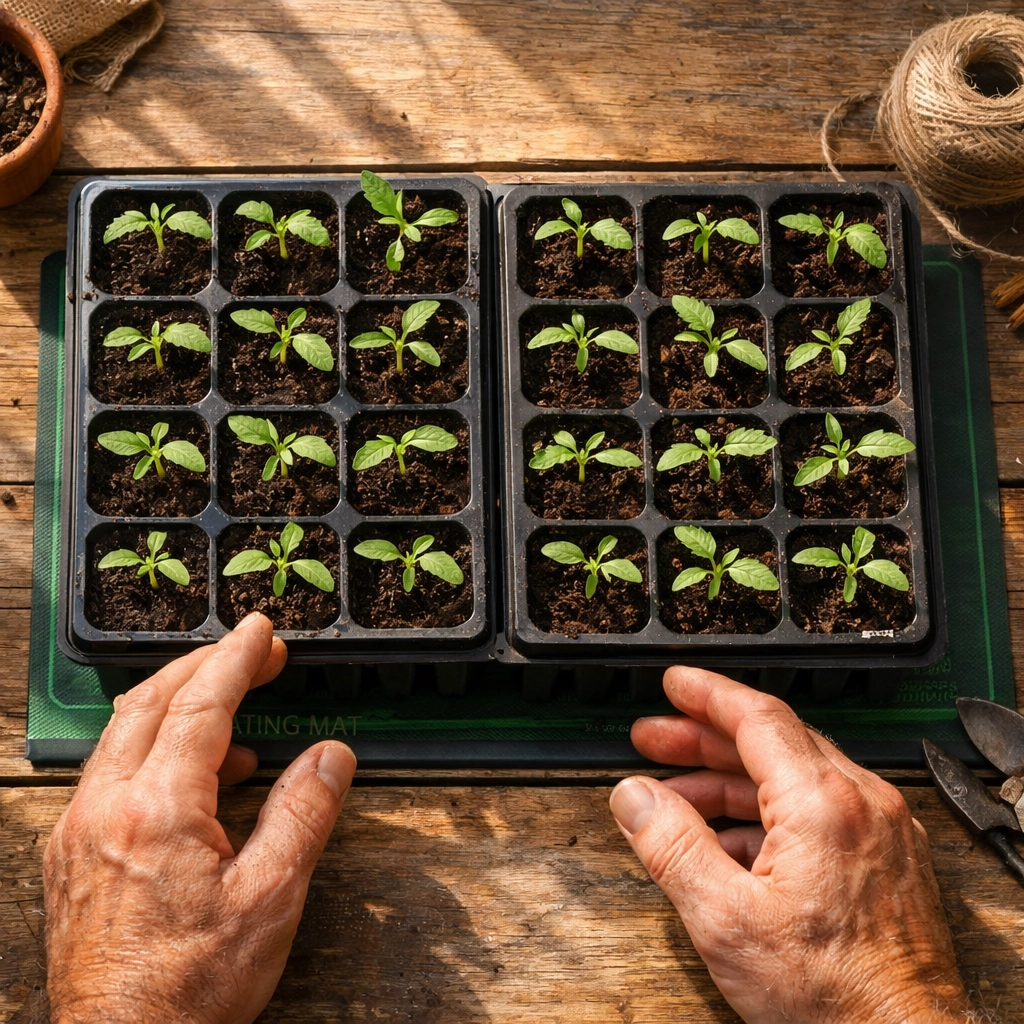
Use quality heirloom seeds, the kind that haven't been hybridized into oblivion. At Farmer Flints, we're all about preserving those authentic genetics that give you the real deal. Fill seed trays or small pots with a good seed-starting mix, plant seeds about a quarter-inch deep, and keep the soil consistently moist.
Here's the key: warmth. Tomato seeds germinate best when soil temperatures hover between 75-90°F. If your house runs cool, consider using a heat mat under your seed trays. You should see sprouts popping up within 7-14 days. Once they emerge, give them plenty of light, either a sunny south-facing window or grow lights positioned a few inches above the seedlings.
Transplanting: Go Deep and Go Warm
When your seedlings reach about 6 inches tall and have developed their first set of true leaves, it's almost time to move them outdoors. But hold your horses, don't rush this step. Wait until after your last frost date and make sure soil temperatures have climbed to at least 60°F. Cold soil will stunt their growth and potentially set them back for the entire season.
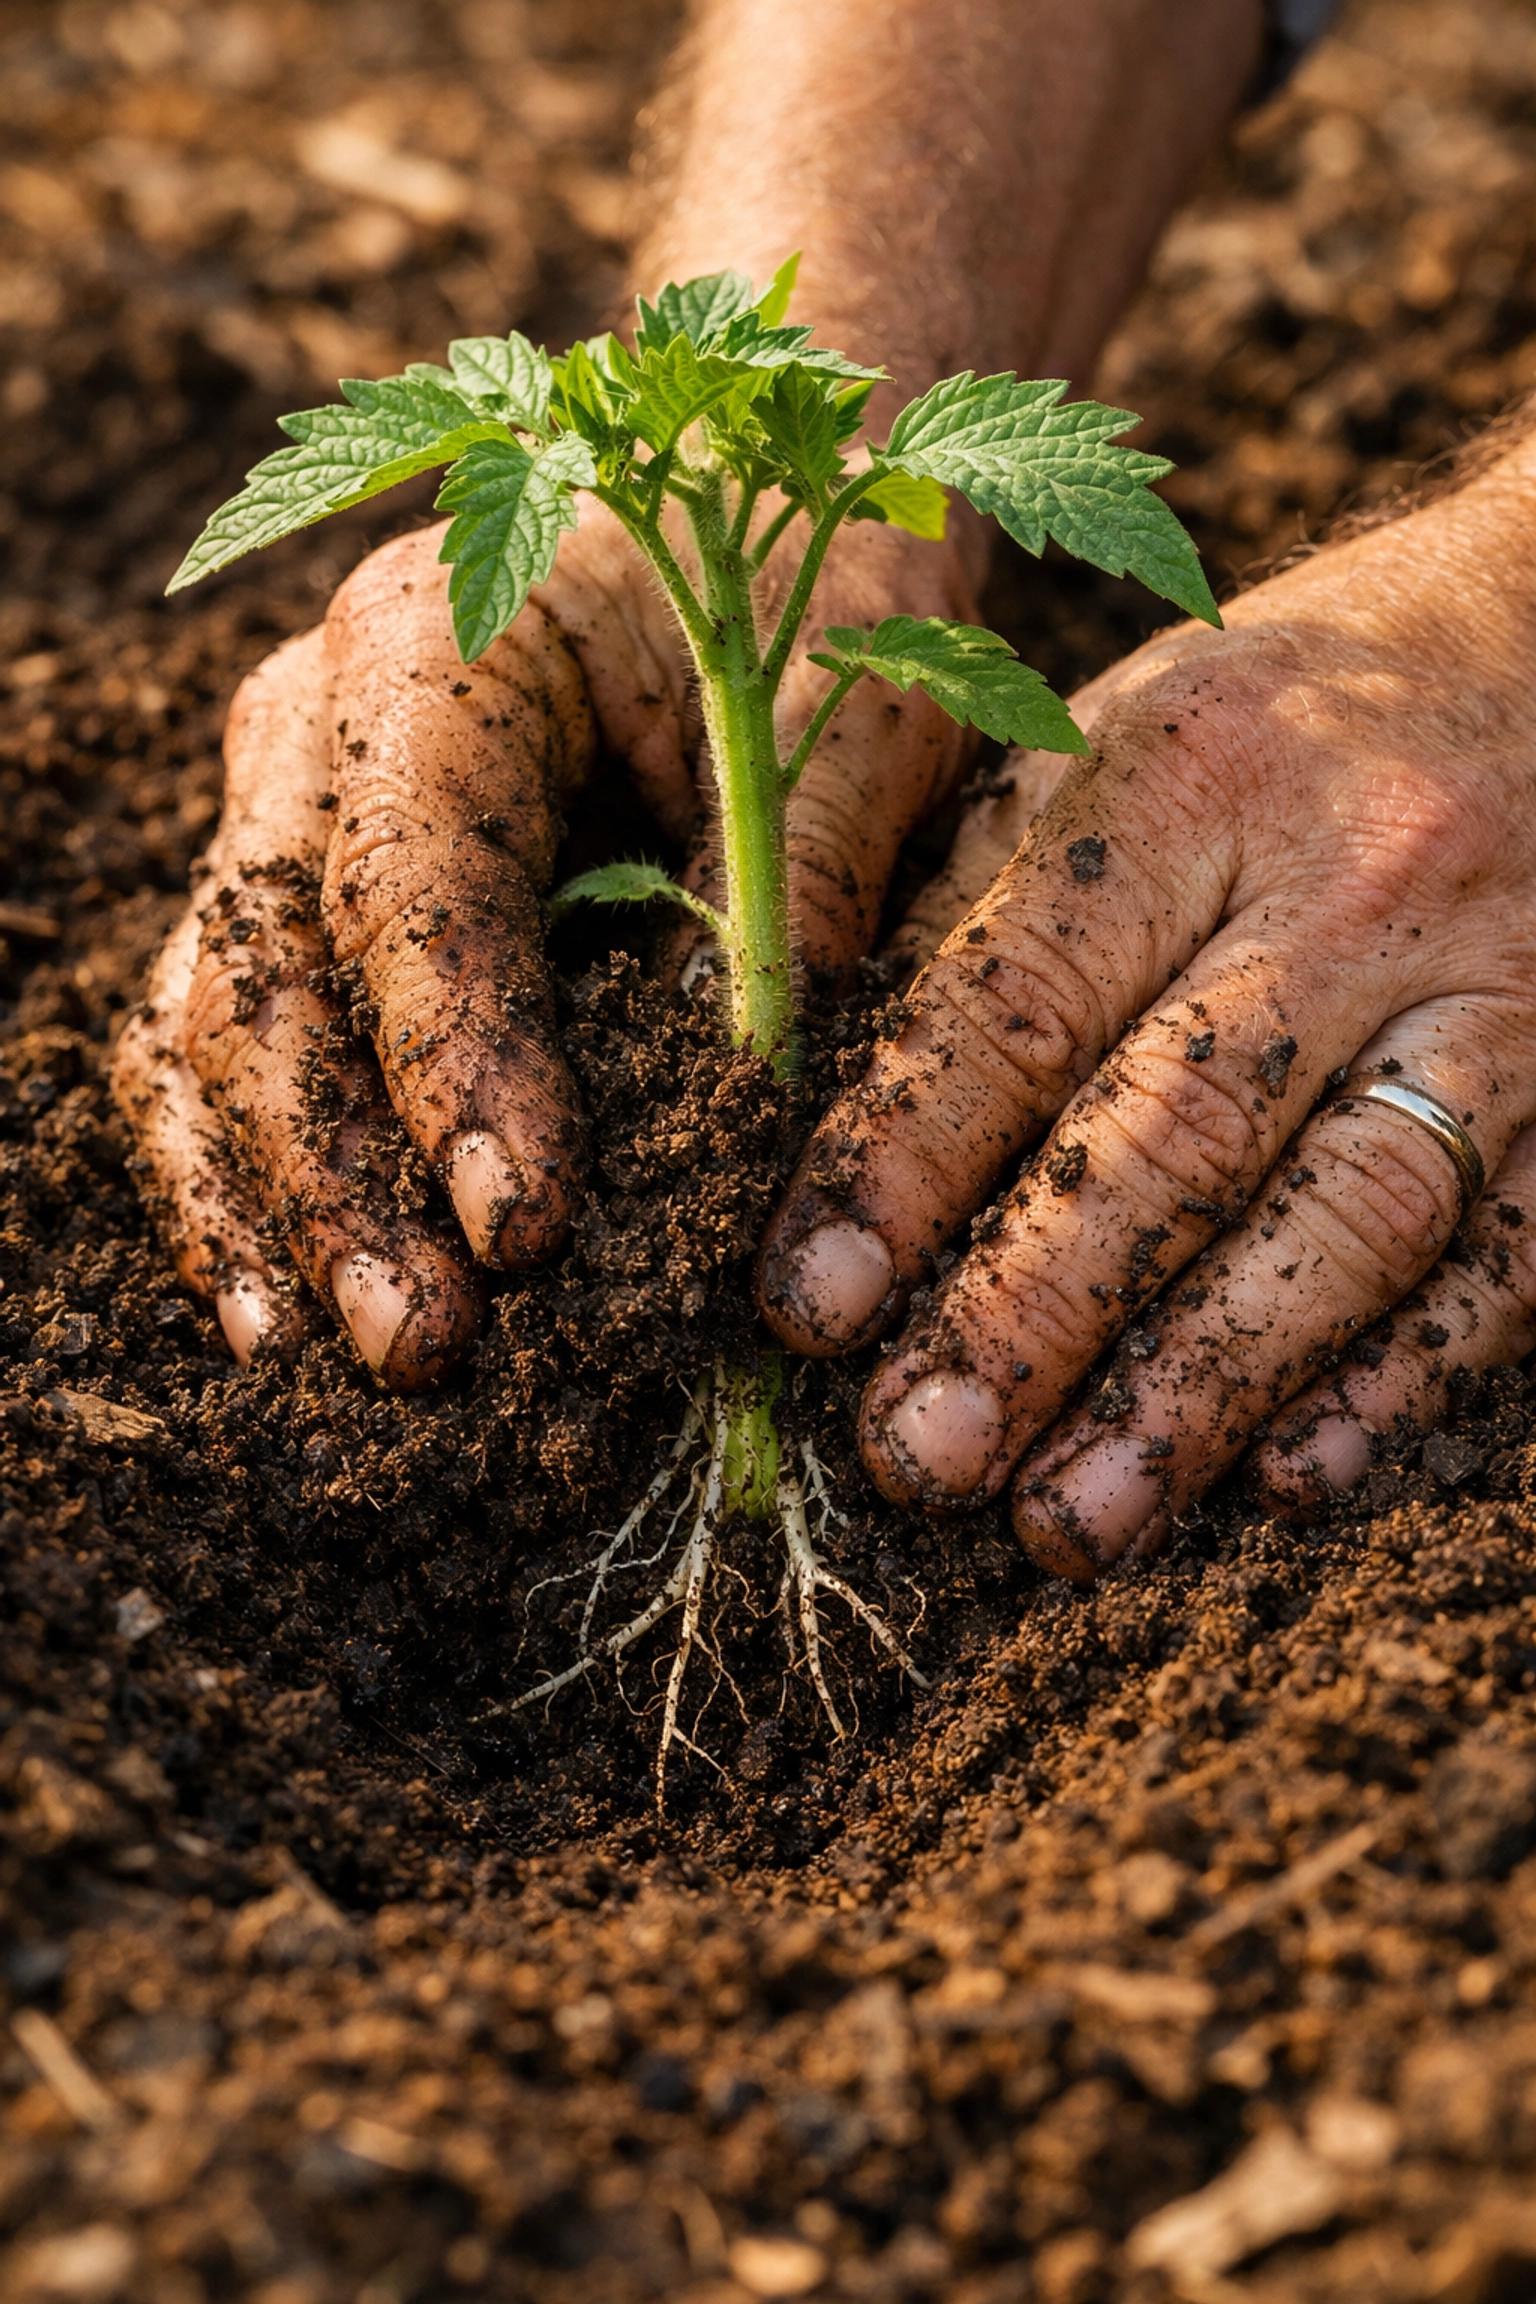
Here's a trick that makes a huge difference: bury them deep. I'm talking about planting at least two-thirds of the stem underground. Strip off the lower leaves and dig a deeper hole or trench. Tomatoes have the amazing ability to grow roots all along their buried stems, which creates a much stronger, more resilient root system. This pays dividends later when those heavy fruits start weighing down the vines.
Before planting, work a generous amount of compost or well-rotted manure into your soil. I also like to scratch a handful of blood meal into the bottom of each planting hole, that nitrogen boost helps them get established. Space plants 30-48 inches apart. Yes, that seems like a lot of real estate, but good air circulation prevents disease and gives each plant room to sprawl.
Location and Sunlight: Don't Skimp Here
San Marzanos are sun-worshippers. They need at least 6-8 hours of direct sunlight daily to produce those flavorful fruits you're after. Choose your sunniest spot: that south-facing area where nothing casts shade. More sun equals more sugars in the fruit, which translates directly to better-tasting sauce.
Avoid planting where you've grown tomatoes, peppers, or eggplants in the past year or two. Rotating your crops helps prevent soil-borne diseases from building up. If you're working with the same garden space year after year, that's where adding fresh compost becomes even more important.
Support Systems: Give Them Something to Lean On
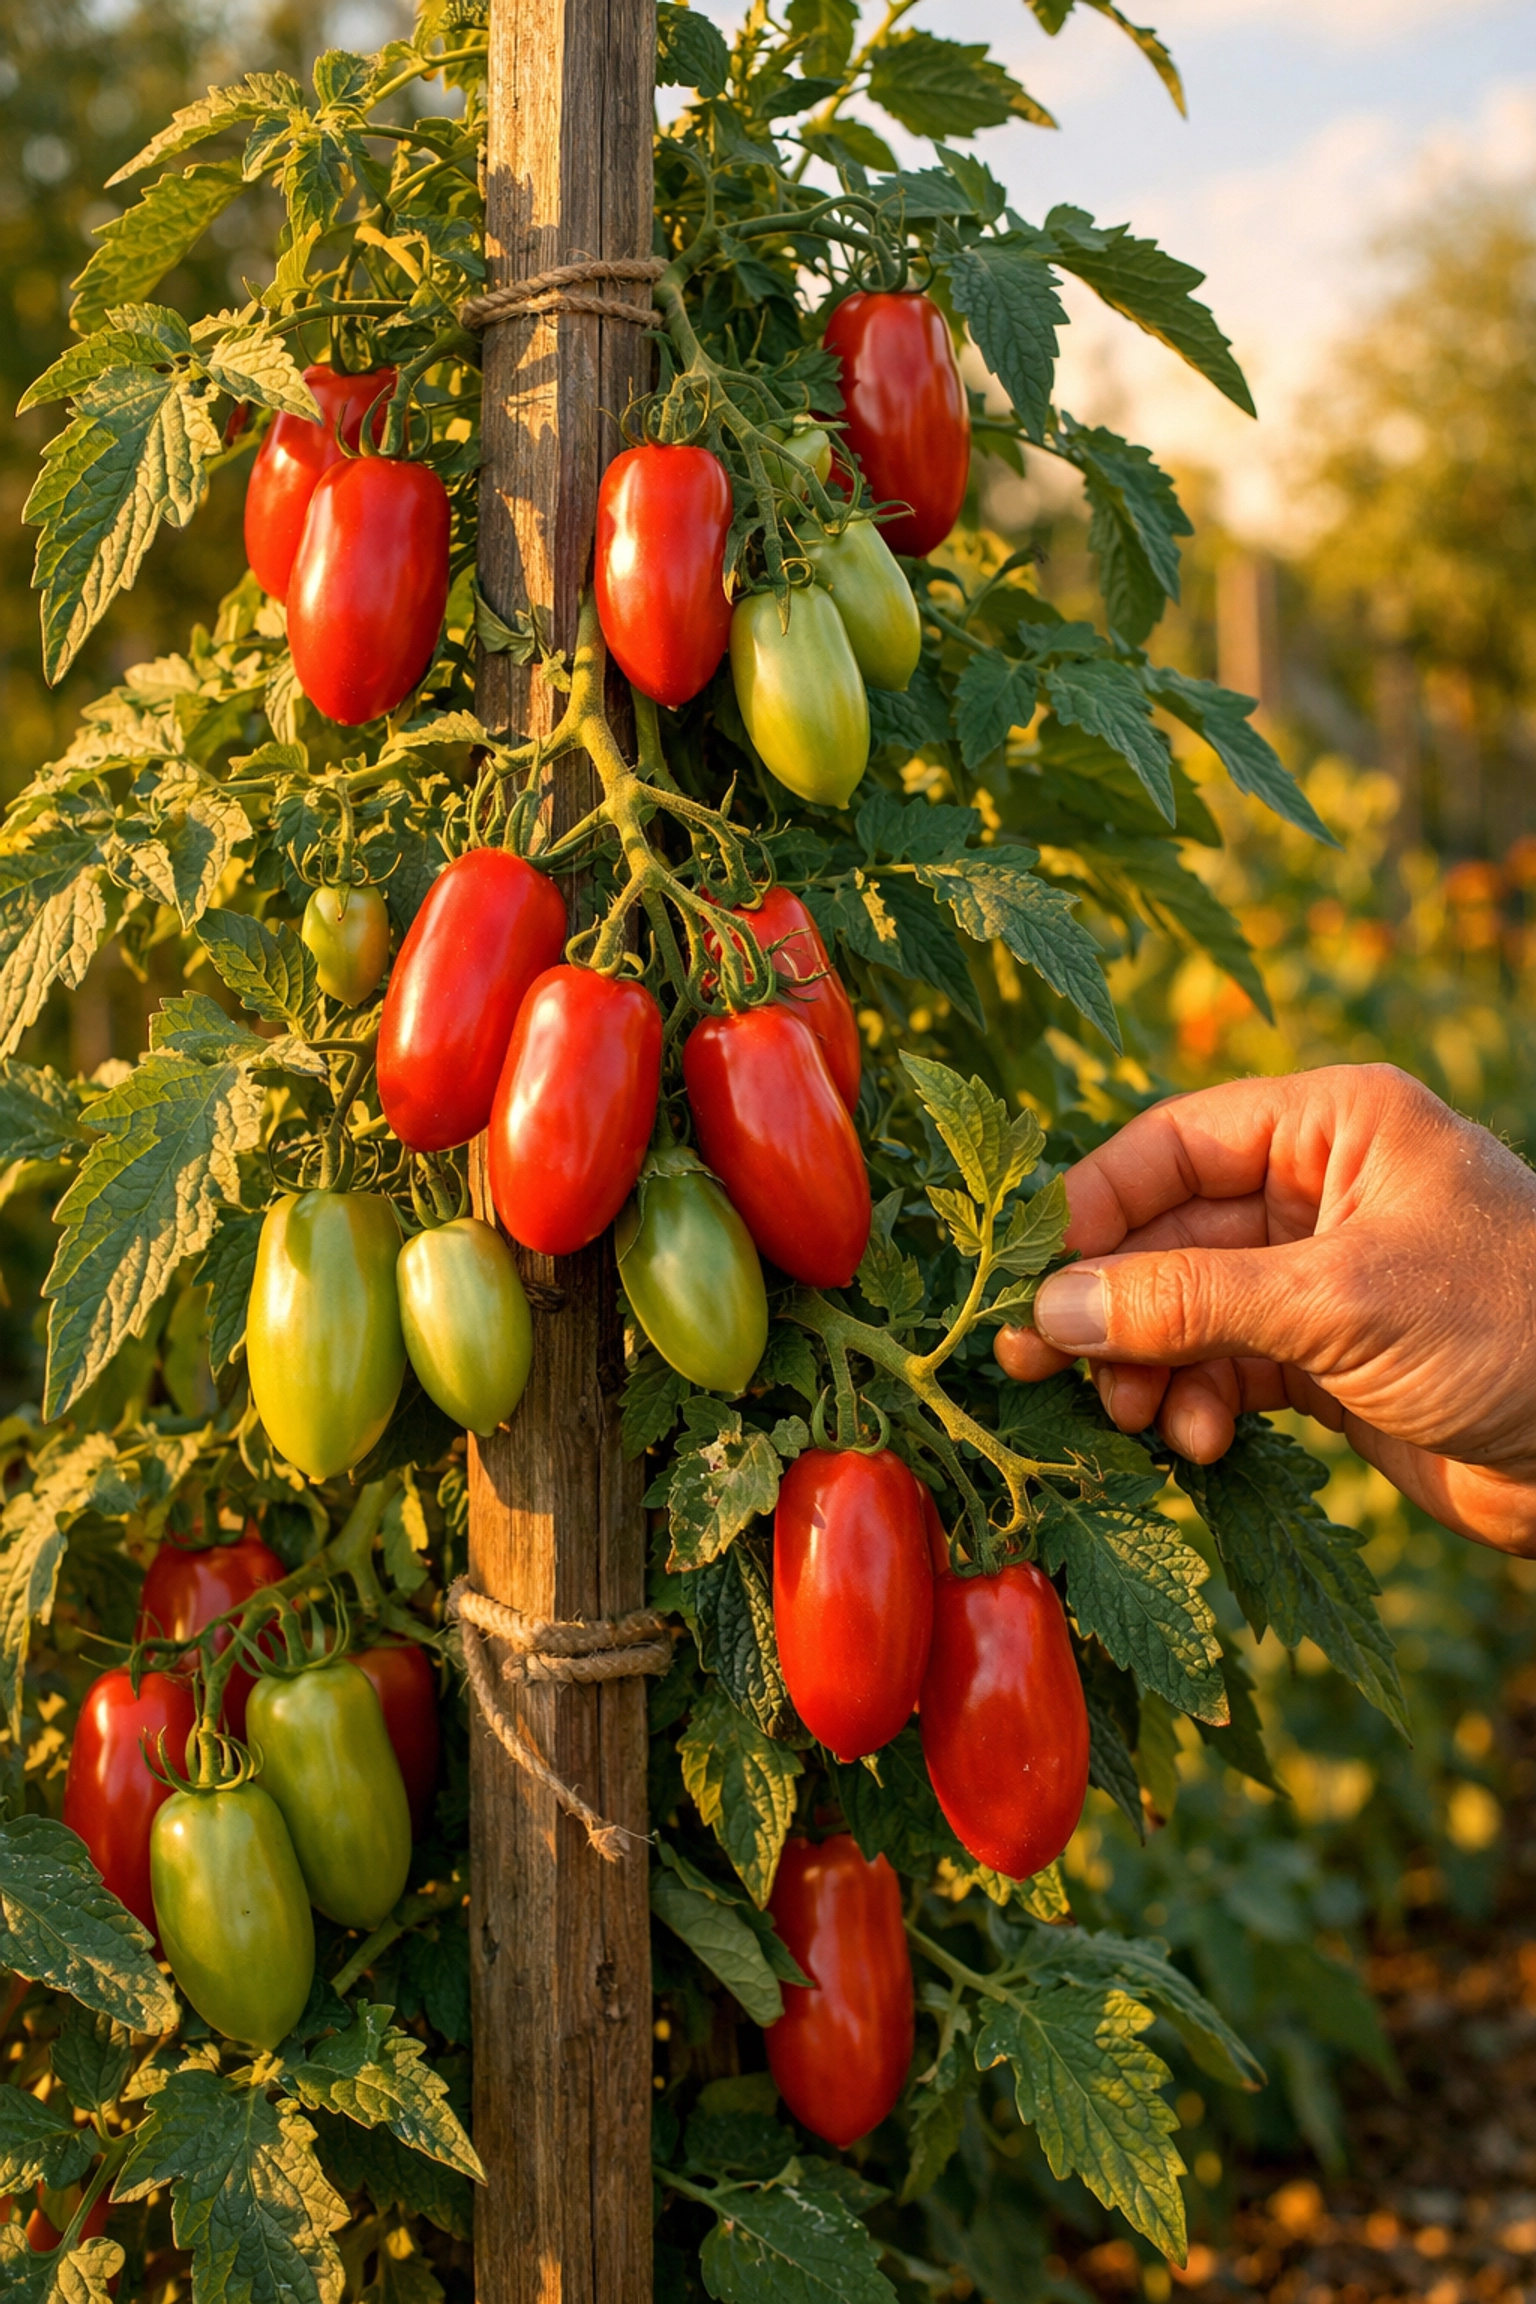
These plants get tall and heavy as the season progresses. I've seen San Marzano vines reach 6 feet or more, loaded down with clusters of elongated fruits. Install stakes or tomato cages at planting time: trying to wrangle support around an established plant later is an exercise in frustration.
If you want to get fancy, you can prune your San Marzanos to develop two main shoots. Keep the central stem and one strong secondary shoot that emerges low on the plant, then remove all the other suckers (those little shoots that pop up where branches meet the main stem). This focuses the plant's energy into fewer, but often larger and earlier-ripening fruits. Some growers swear by this method; others prefer to let them grow naturally. Both approaches work: it's really about how much time you want to spend pruning.
Watering: Consistency Is Your Friend
San Marzanos like their soil evenly moist but never waterlogged. Think of it as maintaining a steady rhythm rather than cycling between drought and flood. Inconsistent watering leads to problems like blossom end rot (that black, leathery spot on the bottom of fruits) and cracked fruits.
I aim for about an inch of water per week, either from rain or irrigation. Deep, infrequent watering encourages roots to grow deeper, which makes plants more drought-tolerant in the long run. Water at the base of plants rather than overhead: wet foliage invites fungal diseases. Mulching around plants with straw or shredded leaves helps maintain consistent soil moisture and keeps weeds at bay.
Feeding Your Heavy Feeders
Here's something you need to know: tomatoes are hungry plants, and San Marzanos are no exception. Once fruits reach about golf ball size, it's time to start side-dressing with fertilizer. Look for a balanced blend with an N-P-K ratio around 5-10-10. That middle number (phosphorus) supports fruit development, which is exactly what you want once flowers start setting fruit.
Apply fertilizer every three weeks throughout the growing season. Scratch it into the soil a few inches away from the stem, then water it in. Just avoid high-nitrogen fertilizers once plants are established: too much nitrogen produces gorgeous, lush foliage but disappoints when it comes to actual fruit production. You want fruits, not just leaves.
Patience Through the Growing Season
San Marzanos typically start producing fruit from June onward in most climates, with full ripeness arriving by mid-August. That extended growing season is both a blessing and a test of patience. But it also means you'll have a steady supply of tomatoes for weeks rather than one overwhelming glut.
These tomatoes are surprisingly disease-tolerant compared to some varieties, but keep an eye out for common issues like early blight or septoria leaf spot. Remove any yellowing or spotted lower leaves promptly, and maintain good air circulation around plants.
Harvest Time: Knowing When They're Ready
San Marzano tomatoes transition from green to a deep, rich red when fully ripe. Unlike slicing tomatoes that you might pick slightly underripe, let these babies fully ripen on the vine for maximum flavor. They should feel slightly soft when gently squeezed and come off the vine with minimal effort.
Here's the beautiful part: because they're indeterminate, your plants will keep producing until frost. You can harvest fresh tomatoes for immediate use or pick them in bulk for preserving. Some gardeners pull entire plants before the first frost and hang them upside down in a garage or basement, allowing green fruits to gradually ripen over several weeks.
From Vine to Sauce
Once you've harvested your San Marzanos, you're ready for the main event: making sauce. The traditional method is simple: blanch tomatoes briefly in boiling water, slip off their skins, then simmer them down with just a bit of olive oil, garlic, and basil. The tomatoes themselves are so flavorful that they don't need much help.
Because of their low moisture content and few seeds, San Marzanos reduce into a thick sauce relatively quickly compared to other varieties. You can freeze sauce in batches, can it for long-term storage, or simply make fresh batches throughout the harvest season.
Growing San Marzano tomatoes asks for some patience and attention, but the reward is sauce that tastes like summer itself, even when you're pulling it from the freezer in January. Start with quality heirloom seeds, give them the warmth and sunlight they crave, and stay consistent with water and fertilizer. Your pasta will thank you.
Ready to get started? Check out our garden collection for everything you need to grow your best tomatoes yet.