


There's something deeply satisfying about reaching into your pantry in the middle of January and pulling out a jar of homegrown basil or oregano. That moment when you open the lid and the aroma transports you back to summer: that's the magic of properly dried herbs. After years of growing herbs from seed and preserving the harvest, I've learned that drying herbs isn't just about removing moisture. It's about capturing the essence of your garden and locking it away for the months when fresh growth is just a memory.
The beauty of growing herbs from quality heirloom seeds is that you're starting with plants that have robust flavors worth preserving. When you've nurtured those seeds into thriving plants, you want to make sure your preservation methods do justice to all that effort.
The Perfect Harvest Window
Before we dive into drying methods, let's talk timing. The moment you harvest your herbs makes all the difference in their final flavor and potency. You want to cut herbs in the morning, right after the dew has dried but before the sun gets intense. This is when the essential oils: the compounds that give herbs their distinctive flavors and aromas: are at their peak concentration.
For most leafy herbs like basil, oregano, and thyme, harvest just before they flower. Once flowering begins, the plant redirects its energy toward reproduction, and the leaves can become slightly bitter. With herbs like cilantro or dill where you want the seeds, you'll obviously wait until those seeds develop and just begin to turn brown.
Choosing Your Drying Method
Not all herbs are created equal, and neither are drying methods. What works beautifully for rosemary might not be ideal for delicate parsley. Let's break down your options.
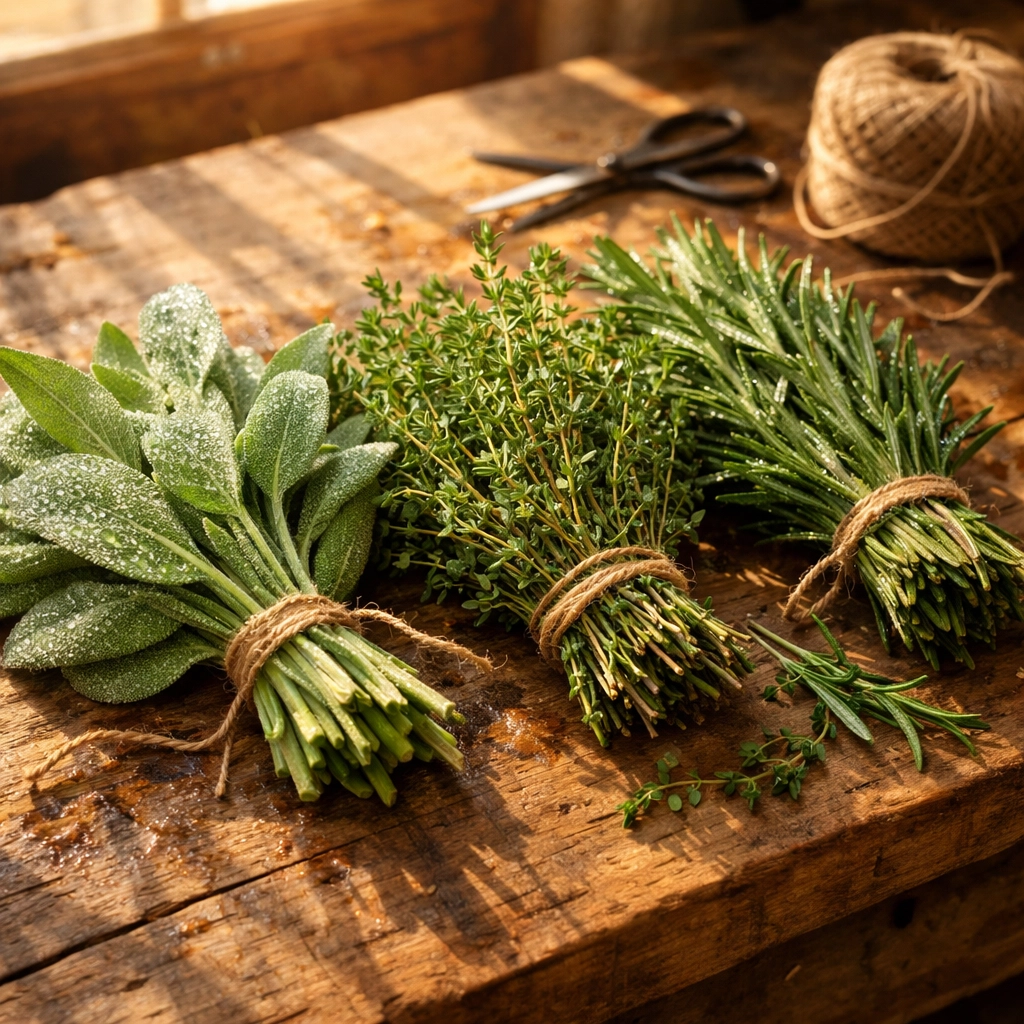
Bundling and Hanging: The Classic Approach
This is the method that conjures images of rustic kitchens with herb bundles dangling from exposed beams. It's not just romantic: it's highly effective for sturdy, long-stemmed herbs. Think rosemary, sage, thyme, oregano, lavender, and marjoram.
Gather about six to ten stems together and secure them with twine or a rubber band. Here's a trick I learned after watching too many bundles slip apart: use two rubber bands, wrapping one around half the bundle and the other around the remaining half. Then bring both sections together and wrap them again as one unit. This allows you to hang the bundle split open, exposing more surface area to airflow.
Hang your bundles upside down in a warm, well-ventilated space away from direct sunlight. A spare room, a covered porch, or even a closet with good air circulation works perfectly. The key is darkness: sunlight will bleach out the color and diminish the oils that give herbs their punch. This method typically takes about a week, though humid conditions might extend that timeline.
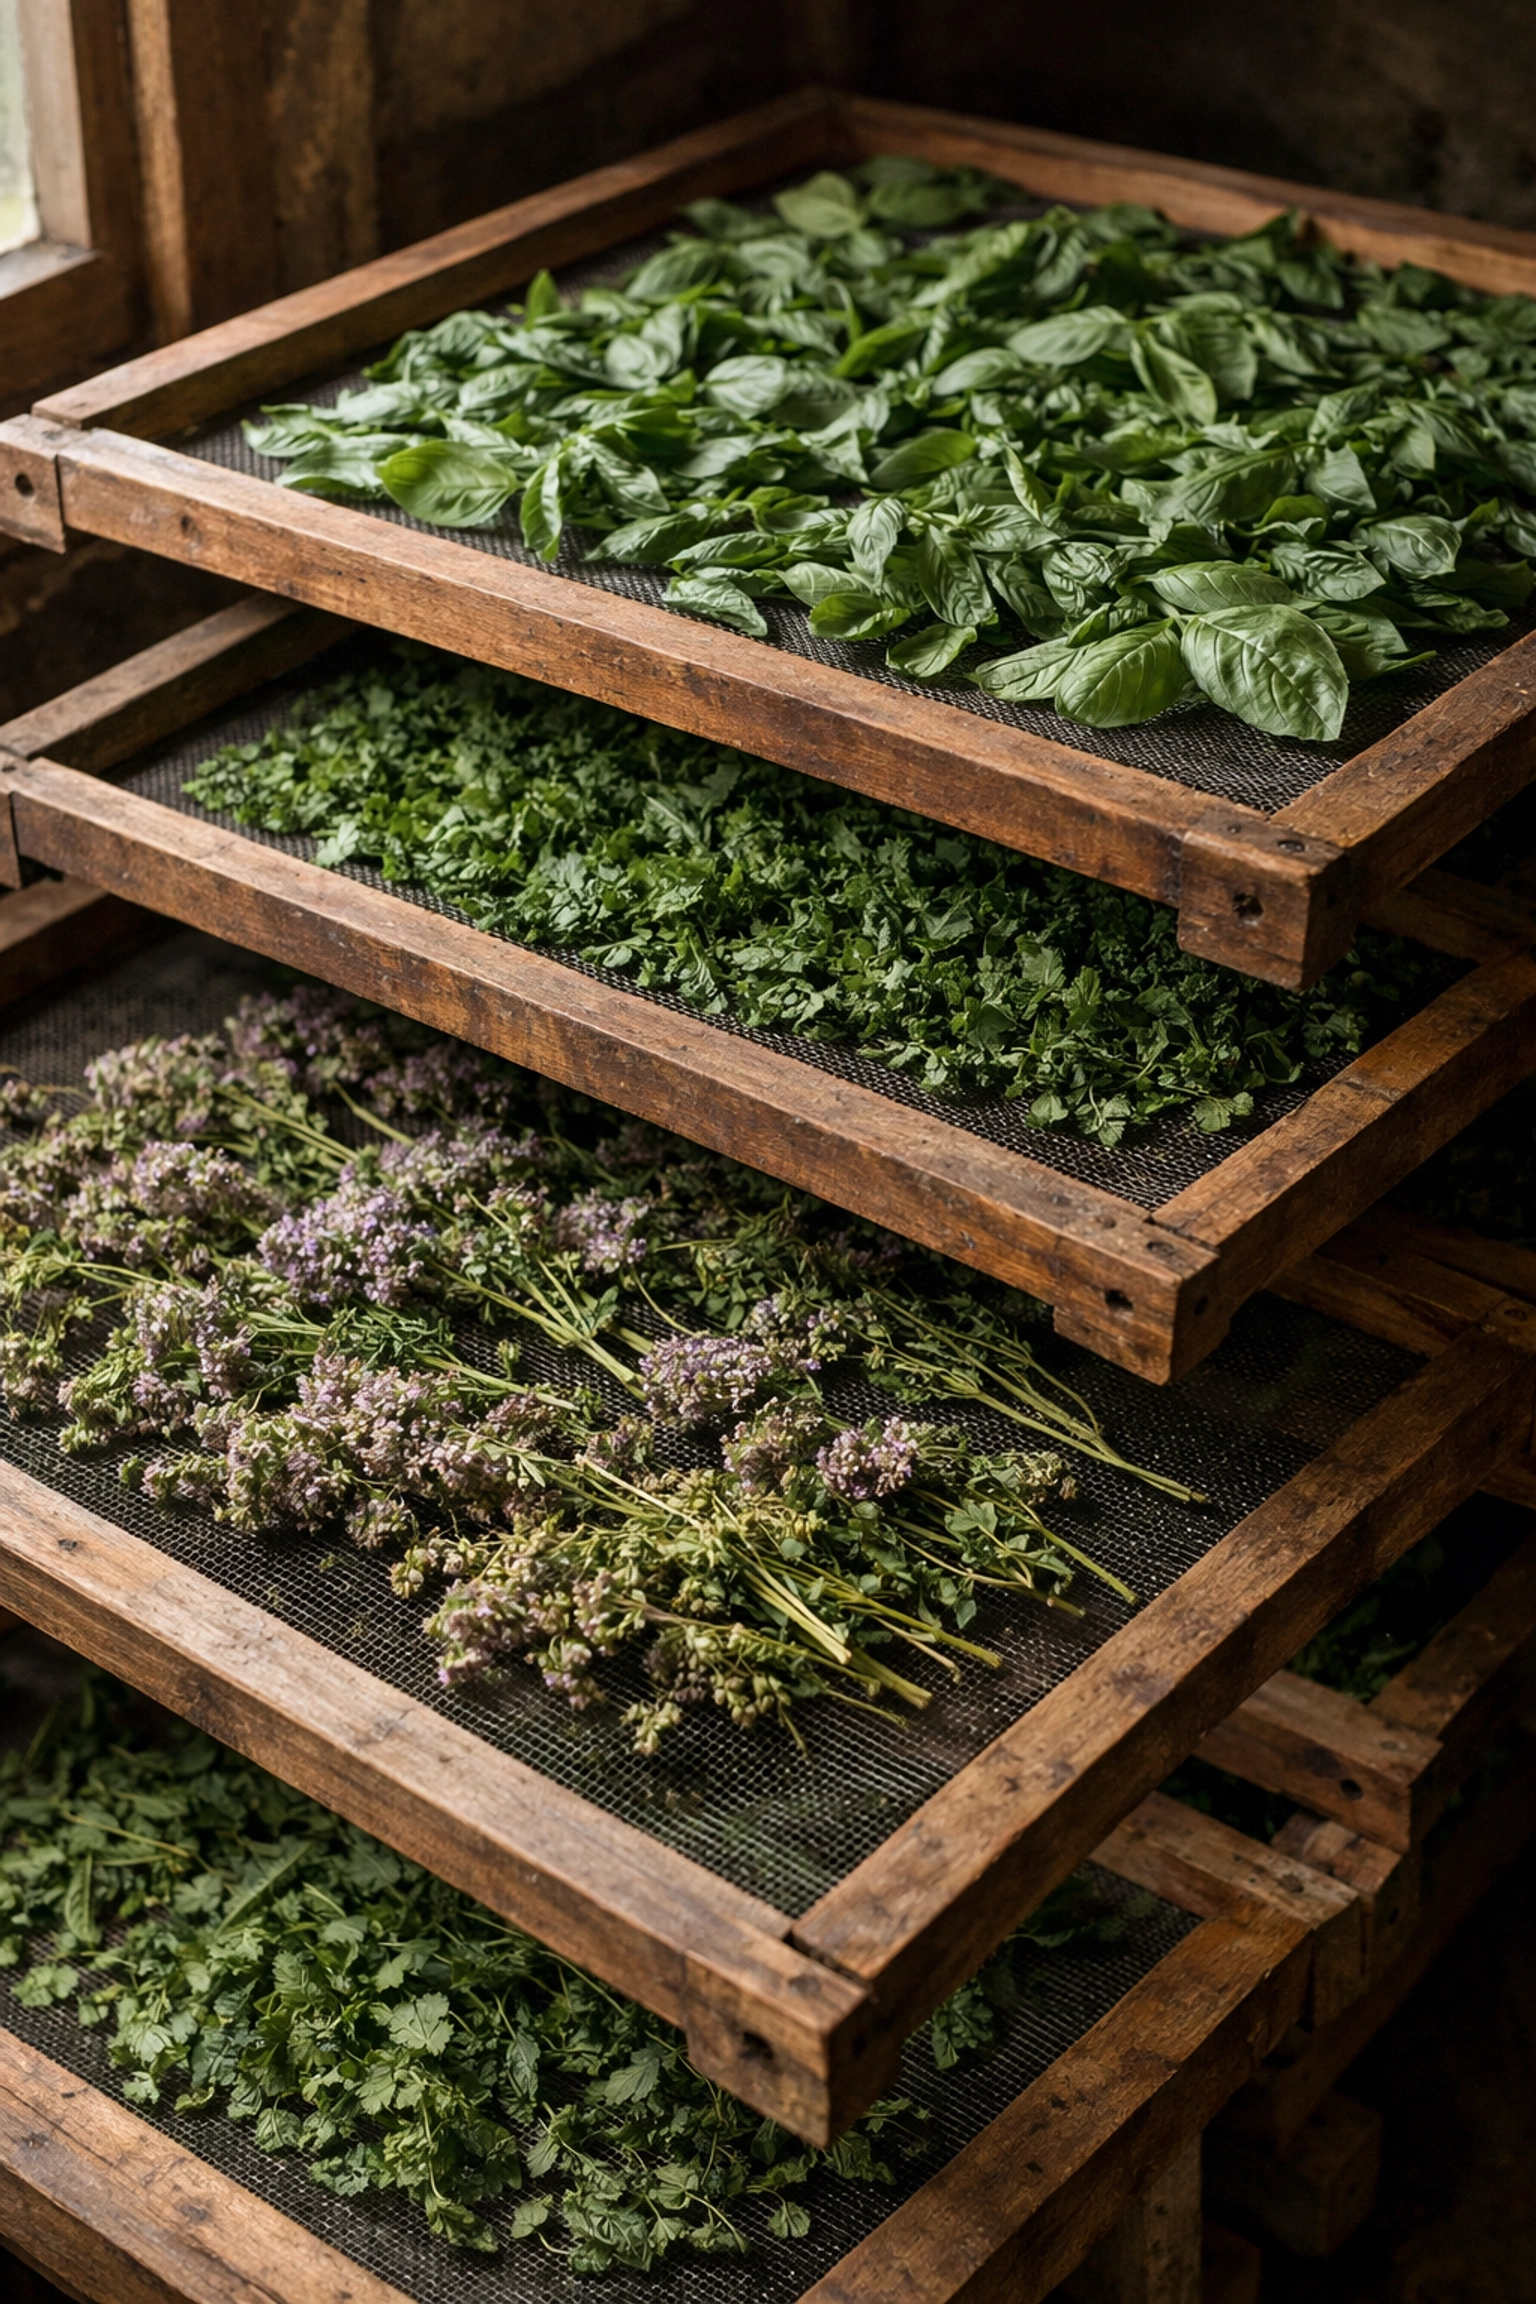
Screen Drying: For the Delicate Ones
Some herbs just won't cooperate with bundling. Short-stemmed varieties, individual leaves, flower petals, and even roots need a different approach. This is where screen drying shines.
Lay your herbs in a single layer on a screen, loosely woven basket, or even a clean window screen propped up on blocks. The crucial word here is "single." Overlapping leaves trap moisture and invite mold rather than preservation. Give each leaf room to breathe.
Place your screens in the same warm, dark, well-ventilated spot you'd use for hanging. The advantage here is that herbs dry faster because air circulates on all sides. Gently shuffle or turn the herbs daily to ensure even drying. Expect this method to take anywhere from four days to a week depending on humidity levels and the herb's moisture content.
Dehydrator Drying: When Speed Matters
If you're dealing with a massive harvest or you live in a humid climate where air drying feels like a losing battle, a dehydrator is your best friend. Set it to the lowest heat setting: usually around 95 to 115 degrees Fahrenheit. Higher temperatures will cook your herbs rather than dry them, sacrificing color, flavor, and those precious essential oils.
Arrange herbs in a single layer on the dehydrator trays and check them every hour. Depending on the herb and your machine, drying can take anywhere from one to four hours. The speed is convenient, but stay vigilant. Over-dried herbs lose potency and become flavorless dust.
Oven Drying: The Quick Fix
When you need dried herbs quickly and don't have a dehydrator, your oven can work in a pinch. Spread herbs on a parchment-lined baking sheet and place them in an oven set to its lowest temperature: ideally around 150 degrees Fahrenheit or less. Leave the oven door slightly ajar to allow moisture to escape.
Check your herbs every 15 to 20 minutes. This method requires attention because the line between perfectly dried and burnt is thin. I typically reserve oven drying for emergencies when other methods aren't practical, as it's harder to achieve that ideal slow, gentle dehydration.
The Conditions That Make or Break Your Herbs
Regardless of which drying method you choose, three environmental factors determine your success: temperature, airflow, and light exposure.
You want warmth: not heat. Somewhere between 60 and 80 degrees Fahrenheit is ideal. Too cool and drying takes forever, increasing the risk of mold. Too hot and you're essentially cooking away everything you're trying to preserve.
Airflow is non-negotiable. Stagnant air means trapped moisture, and trapped moisture means spoilage. If your drying space feels stuffy, crack a window or position a fan to circulate air around the room: not directly at the herbs, which can blow them around and cause uneven drying.
Finally, keep your herbs out of direct sunlight. UV rays are brutal to the delicate compounds in herbs. What starts as vibrant green basil can turn into pale, flavorless leaf fragments if exposed to too much light. Think of drying herbs like aging fine wine: it happens best in the dark.
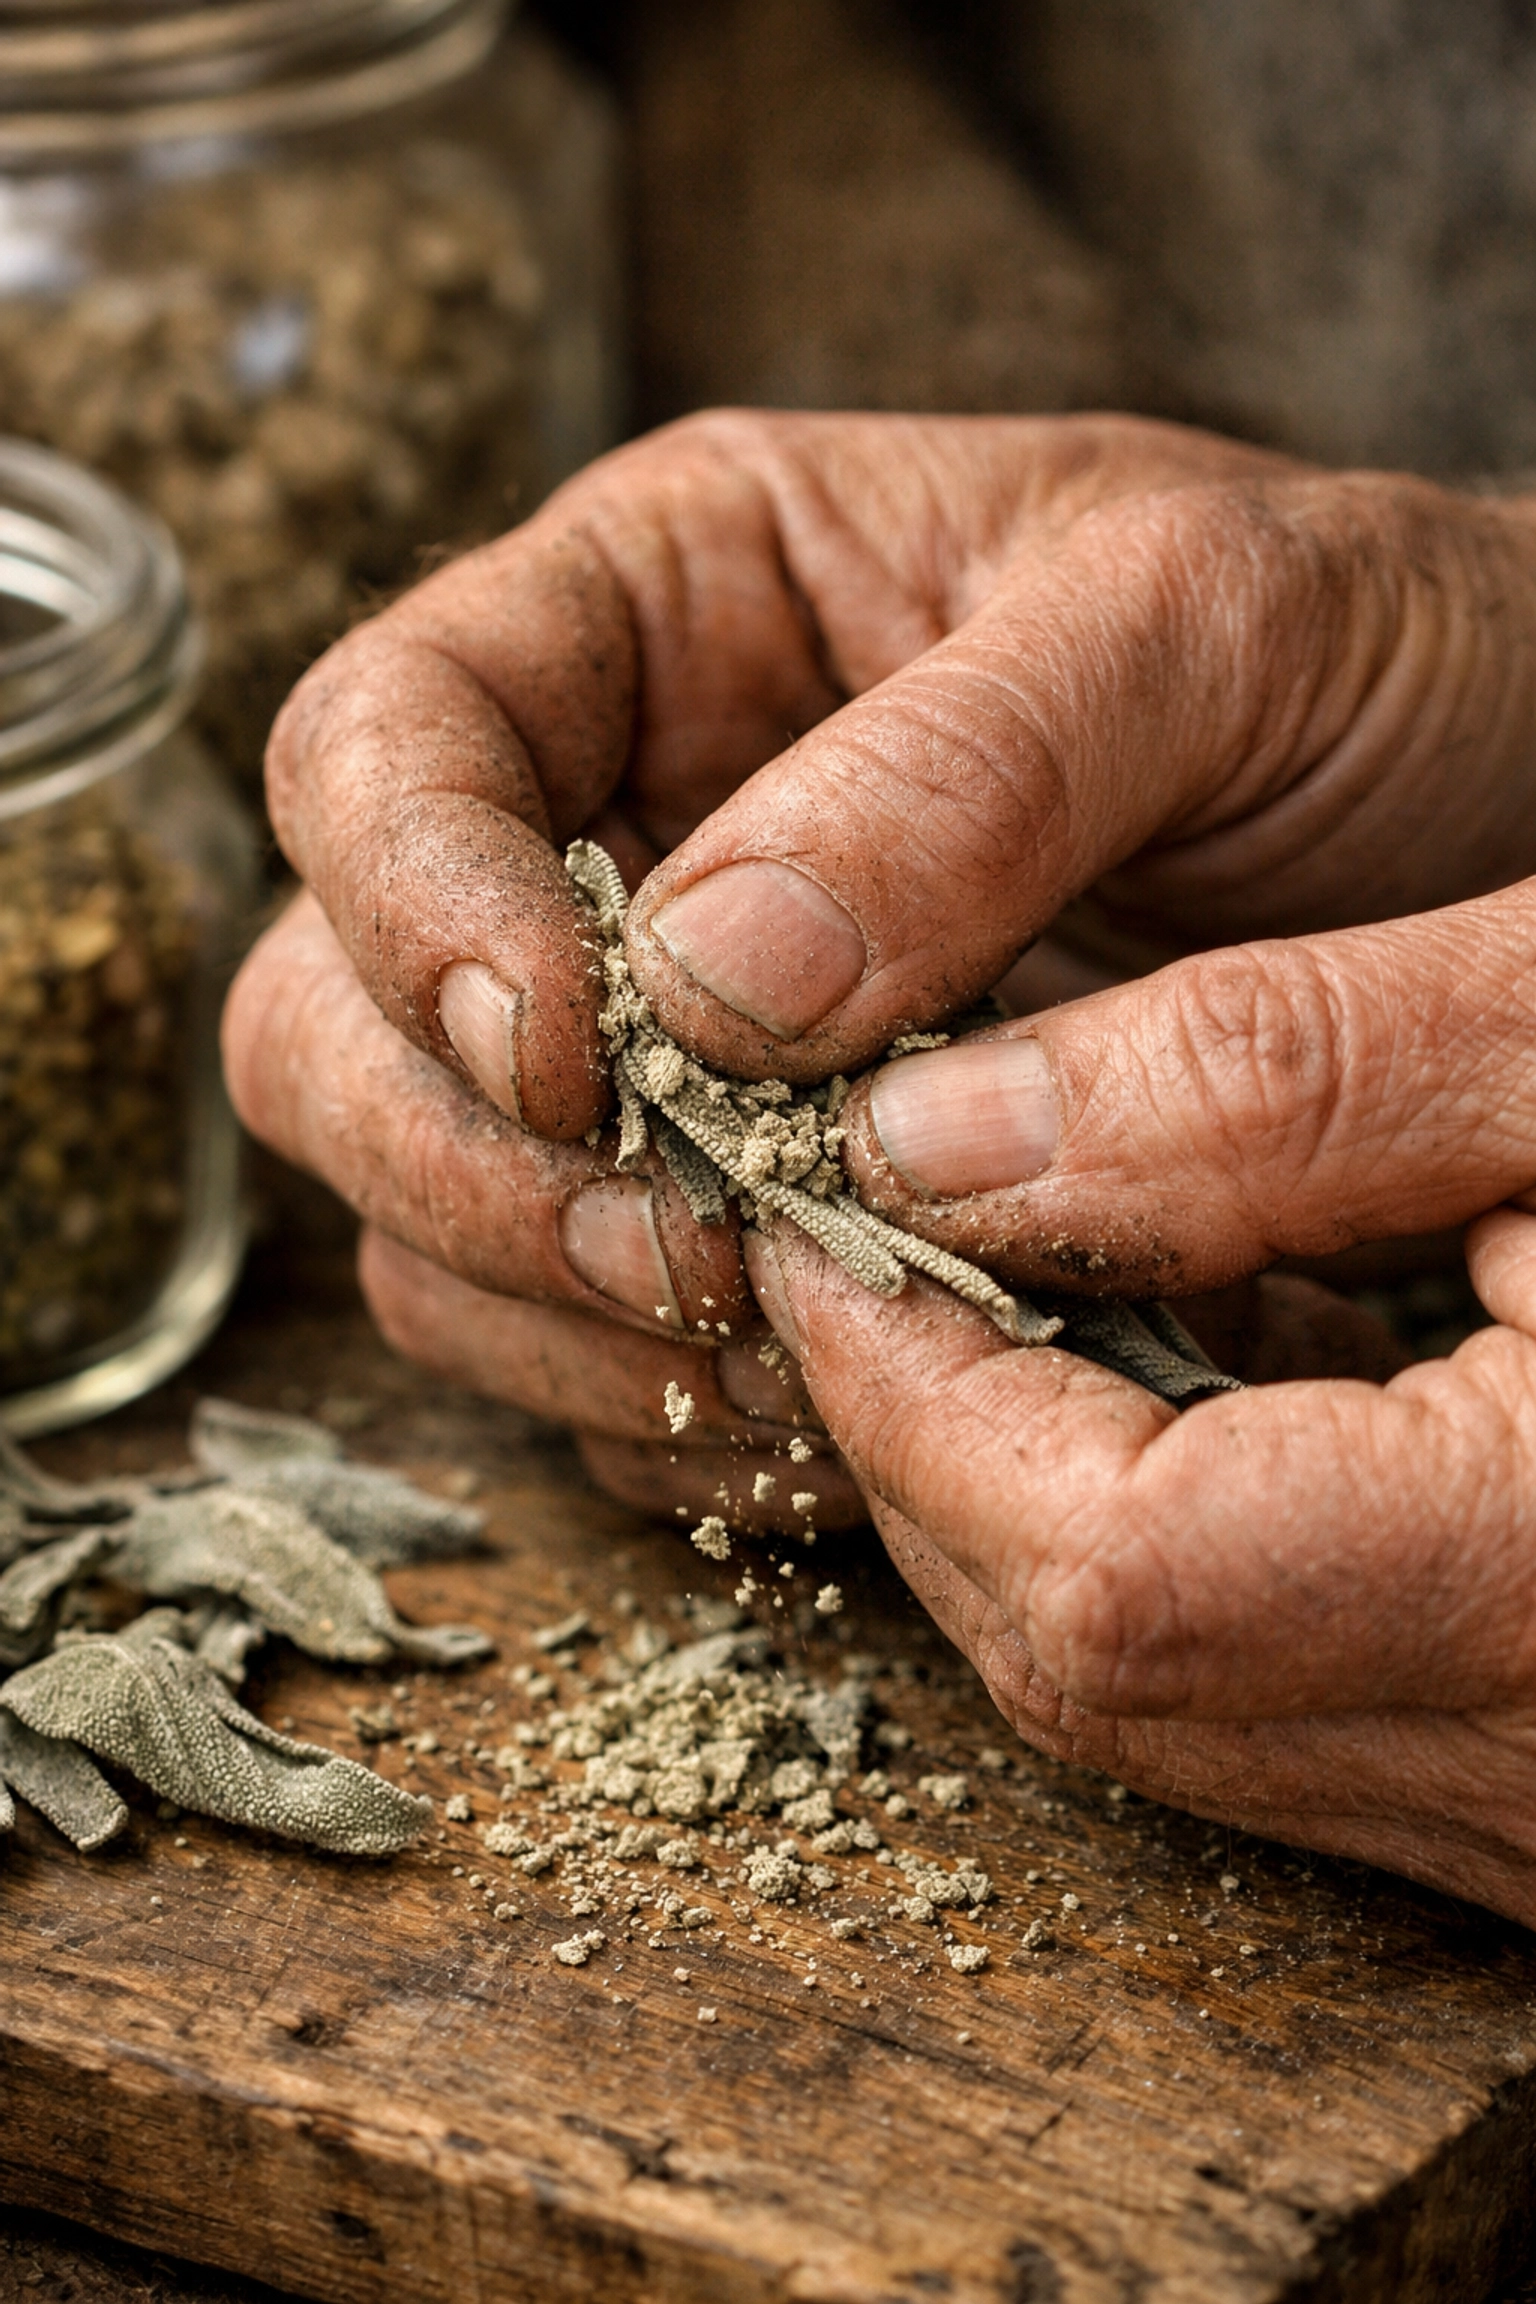
Testing for Dryness
How do you know when your herbs are ready for storage? The crumble test is your answer. Take a leaf and rub it between your fingers. If it crumbles easily into small pieces, it's ready. If it bends or feels leathery, it needs more time.
For thicker stems or roots, the test is visual and tactile. They should be brown, shriveled, and snap rather than bend. Cut into a thicker piece if you're unsure: the interior should be completely dry with no sign of moisture.
Rushing this step invites disaster. Herbs that aren't thoroughly dried will develop mold in storage, ruining your entire batch and potentially creating health hazards. When in doubt, give them another day or two.
Storage: Where the Real Preservation Happens
You've done the hard work of drying your herbs perfectly. Now comes the equally important task of storing them properly. This is where many people stumble, putting beautiful dried herbs into containers that slowly strip away their quality.
Glass jars with tight-fitting lids are the gold standard. Mason jars, repurposed spice jars, or any glass container with an airtight seal will work. Avoid plastic containers: they're porous enough to allow flavor compounds to escape over time, and they can impart their own flavors into your herbs.
Before you fill your jars, make sure they're completely clean and absolutely dry. Any residual moisture is an invitation for mold. Store your filled jars in a cool, dark location. A pantry, cupboard, or basement that stays around 60 to 70 degrees Fahrenheit is perfect. Avoid storing herbs above the stove or near windows where temperature fluctuations and light exposure will degrade quality.
Label everything. Trust me on this. Three months from now, you won't remember if that jar contains oregano or marjoram. Write the herb name and the date you stored it. This helps you use older herbs first and track freshness.
Maximizing Shelf Life and Quality
Properly dried and stored herbs maintain their quality for about one to two years. After that, they're not dangerous: they just become bland and lose the vibrancy that made them worth preserving in the first place.
Here's a tip that makes a real difference: store your herbs as whole leaves rather than crushing them immediately. Crushing releases essential oils, which means flavor begins escaping right away. Keep leaves whole and crush or chop them just before use for maximum impact.
Every few months, check your stored herbs. Look for any signs of moisture, discoloration, or off-odors. If you catch problems early, you can save most of your batch. Open the jars occasionally and give them a sniff: your nose will tell you if they're still potent or if they've gone bland.
Bringing It Full Circle
Growing herbs from quality heirloom seeds, nurturing them through the season, and preserving them properly creates a beautiful cycle of self-sufficiency. There's real satisfaction in cooking with herbs you grew from seed, especially in the depths of winter when your garden is dormant and covered in snow.
The techniques might seem fussy at first, but they quickly become second nature. Before long, you'll develop your own preferences and shortcuts based on your climate, the herbs you grow most often, and your storage setup. The important thing is to start. Pick a few herbs from your garden this season, try one of these methods, and experience the difference that properly preserved homegrown herbs make in your cooking. Your future self, standing in the kitchen next January, will thank you for it.