


In my years of growing greens, I've learned that spinach is one of those beautiful crops that rewards patience and proper technique with week after week of tender, nutritious leaves. There's something deeply satisfying about walking out to your garden bed on a cool spring morning and snipping fresh spinach for breakfast. The secret to keeping that harvest rolling isn't complicated, but it does require understanding how this cool-season champion really wants to grow.
Spring spinach presents a unique challenge and opportunity. You're working within a window: those precious weeks between the last frost and the heat of early summer when spinach decides it's done being a leafy vegetable and wants to become a seed producer instead. But with the right approach, you can stretch that window wide and keep your kitchen stocked with fresh greens for months.
Why Direct Sowing Makes All the Difference
Here's something I wish someone had told me when I first started growing spinach: don't bother with transplants. Spinach is surprisingly sensitive about its roots being disturbed. When you transplant seedlings, you're essentially asking the plant to recover from shock right when it should be establishing itself. That stress often triggers premature bolting, where the plant sends up a flower stalk and stops producing the tender leaves you're after.
Direct sowing means planting seeds right where you want them to grow. Wait until your soil temperature is cool: spinach actually germinates best in soil between 40-70°F. In spring, this usually means getting seeds in the ground as soon as you can work the soil, sometimes even a few weeks before your last expected frost. Spinach is tough and can handle a light freeze without flinching.
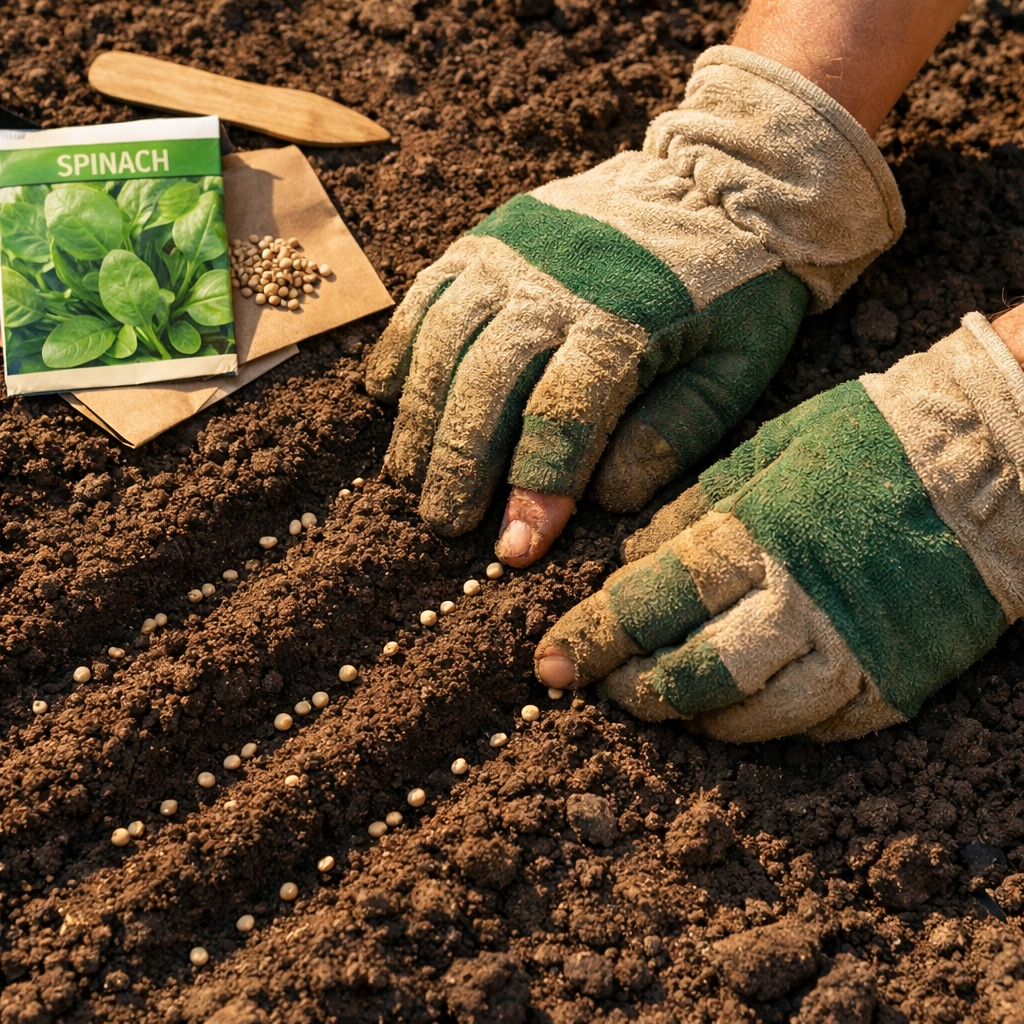
Plant your seeds about half an inch deep and roughly half an inch to an inch apart. I know that seems tight, but trust the process. You'll be thinning them out soon enough, and this initial density gives you options. Press the soil firmly over the seeds: good seed-to-soil contact helps with germination, especially in those cooler conditions.
Building a Foundation with Soil Preparation
Before you even think about planting, let's talk about what spinach really craves from the soil. This leafy green is a nitrogen lover, and it grows best in rich, fertile ground that drains well but holds moisture. Think of it like setting up a comfortable home before inviting guests: you want everything in place before the seeds go in.
Work compost into your bed a few weeks before planting. I'm talking generous amounts here, at least two to three inches mixed into the top six inches of soil. This not only feeds your spinach throughout the season but also improves soil structure, helping with both drainage and moisture retention. If your soil tends toward acidic, spinach appreciates a slightly neutral to alkaline pH between 6.5 and 7.0.
Consider adding a balanced organic fertilizer at planting time, or save your nitrogen boost for after the seedlings emerge. Either way works, but spinach will noticeably speed up its leaf production when it has access to nitrogen. Just remember that balance is important: too much nitrogen without adequate phosphorus and potassium can create lush leaves that are more susceptible to disease.
The Art of Thinning for Maximum Production
Now we get to one of the most important practices that many gardeners skip, and it costs them dearly in the long run. Thinning isn't just about giving plants room: it's about managing your harvest timeline and preventing early bolting.
Once your seedlings develop their first true leaves (that's the second set of leaves, not the initial seed leaves), it's time for the first thinning. Space them about one to two inches apart. Here's where it gets interesting: those thinnings are actually your first harvest. Those tiny baby spinach leaves are incredibly tender and delicious in salads.
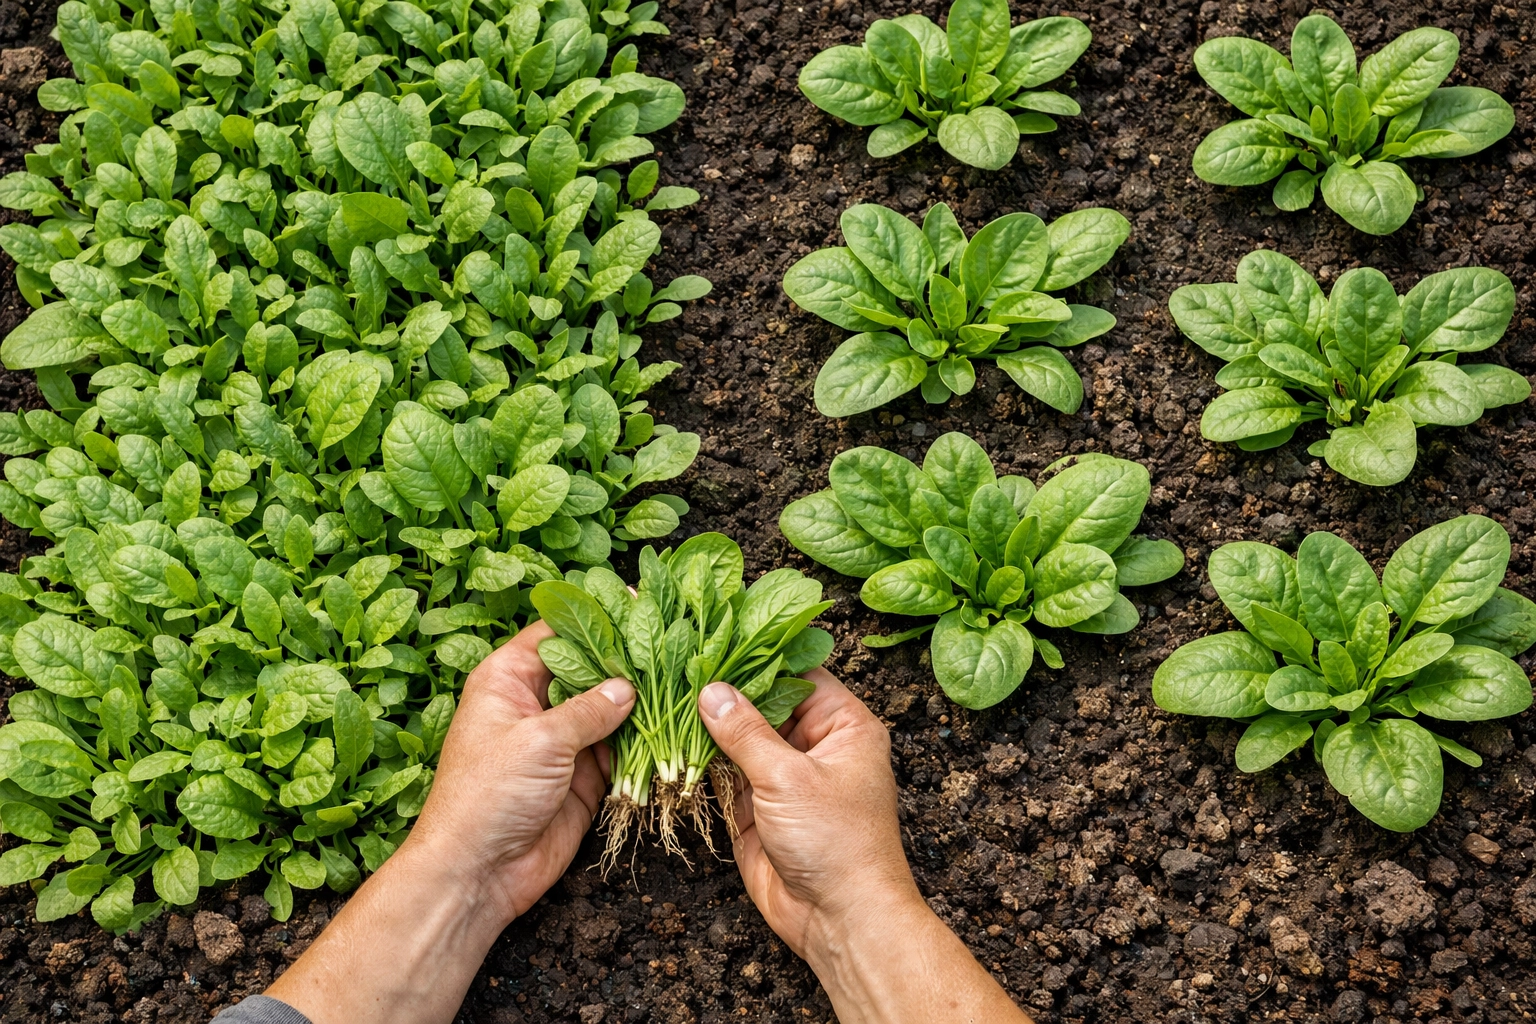
A couple of weeks later, as plants continue growing, thin them again to three to five inches apart. This spacing might seem generous, but it serves multiple purposes. Better airflow reduces disease pressure, especially important in spring when morning dew can linger on leaves. More importantly, this spacing allows each plant to develop a strong crown: that central growing point where all the leaves emerge: which is essential for the cut-and-come-again harvesting method.
Crowded plants bolt faster. When spinach feels competition for resources and space, its survival instinct kicks in, telling it to reproduce quickly. By giving your plants proper spacing, you're essentially telling them they have time to grow leaves before worrying about making seeds.
Watering and Maintenance for Continuous Growth
Spinach likes consistent moisture. Not soggy, not dry, but that sweet spot of evenly moist soil. Inconsistent watering stresses plants and, you guessed it, triggers earlier bolting. In spring, you might get lucky with regular rainfall, but don't count on it.
I've found that watering deeply once or twice a week works better than frequent shallow watering. Deep watering encourages roots to grow down into the soil where temperatures stay more stable and moisture lingers longer. This becomes especially important as spring progresses and temperatures start climbing.
Mulching around your spinach plants helps maintain that consistent moisture while also suppressing weeds. A thin layer of straw or grass clippings keeps the soil cool and reduces the amount of watering you need to do. Just keep the mulch an inch or two away from the plant stems to prevent rot.
Speaking of weeds, stay on top of them. Weeds compete for the same nitrogen and moisture your spinach needs, and they can shade out young plants. Hand-pull weeds carefully to avoid disturbing those sensitive spinach roots.
Mastering the Cut-and-Come-Again Harvest Method
Here's where everything comes together. The cut-and-come-again method is your key to weeks of continuous harvest from the same plants. Instead of pulling up entire plants, you're selectively harvesting outer leaves while leaving the crown and inner leaves intact to keep growing.
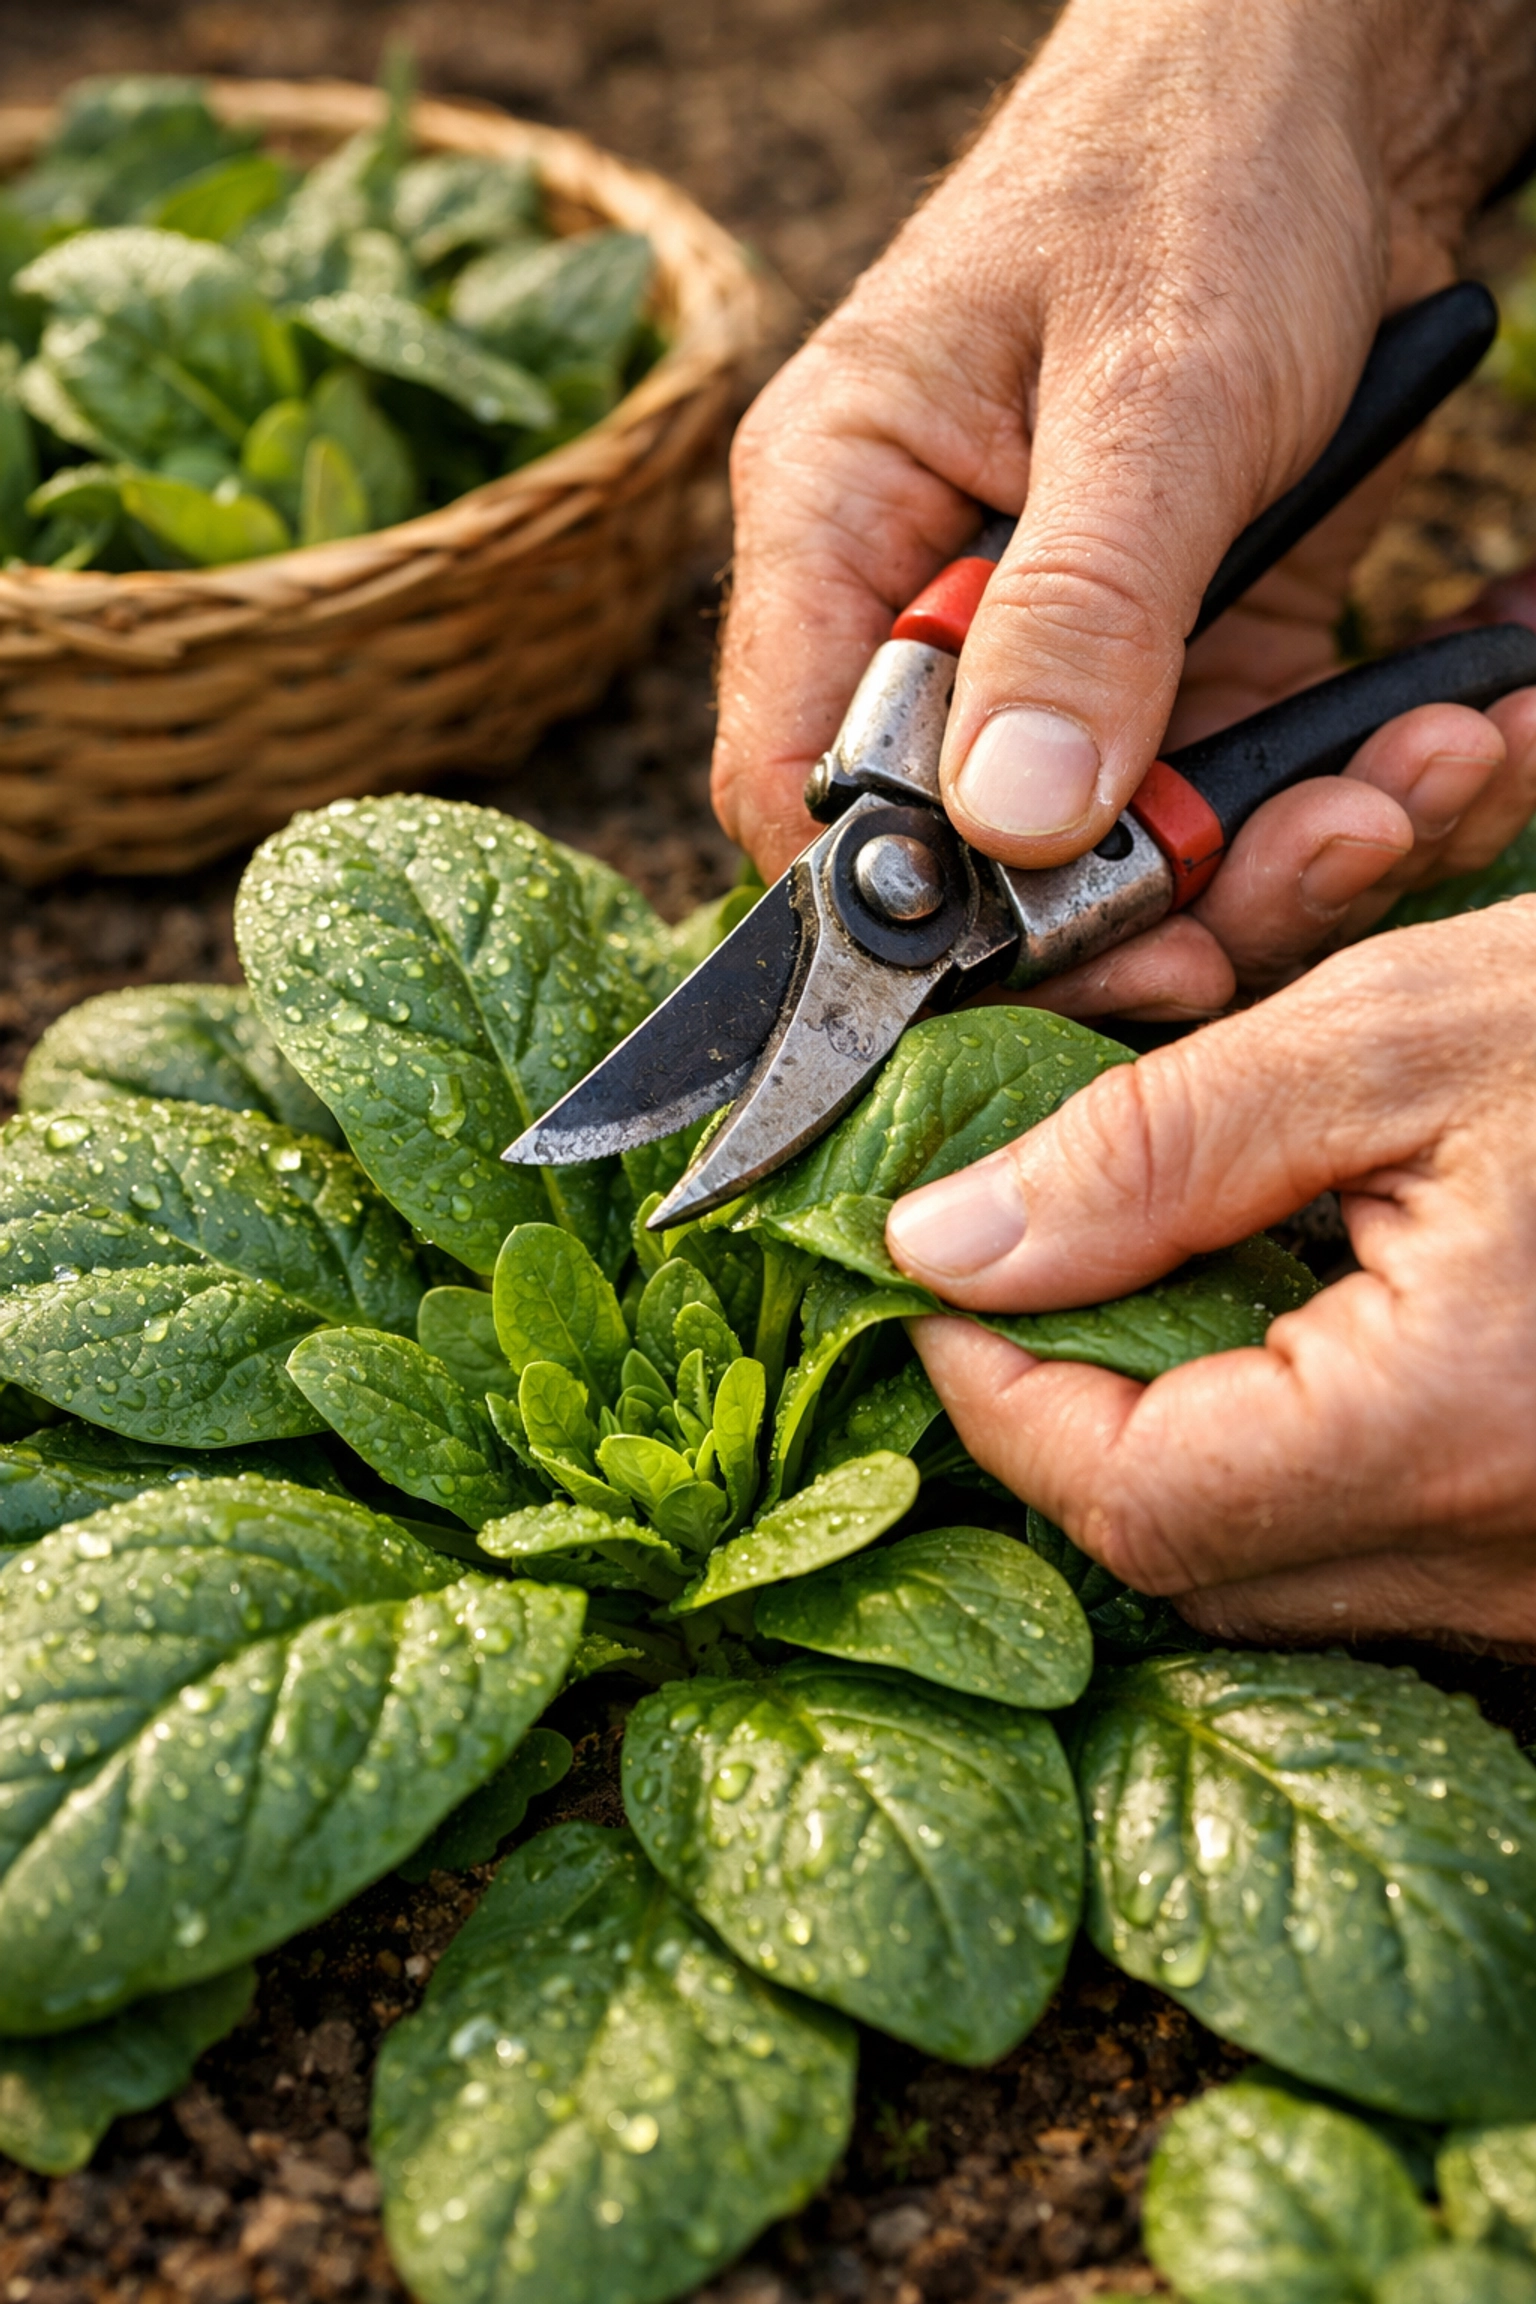
Once your spinach plants have developed several leaf rosettes, start harvesting the outer leaves. You can pinch them off with your fingers or use clean pruners or scissors. Take the larger, outer leaves first, always leaving at least half the foliage on each plant. This allows the plant to continue photosynthesizing and producing new growth from the center.
For baby spinach lovers, harvest when leaves are two to three inches long. For full-sized spinach, wait until leaves reach four to six inches. Either way, the principle is the same: harvest frequently, harvest from the outside, and always leave the crown intact.
If you want to speed up your harvest process once plants are well-established, you can gather outer leaves into a bunch and cut them all at once about an inch above the crown. This method still allows regrowth, and you'll often see new leaves emerging within ten to fourteen days. Each plant can typically handle three to four of these cuttings before it starts to decline or bolt.
Managing the Spring Bolting Challenge
No matter how well you do everything else, spring eventually warms up, and spinach starts thinking about reproduction. Bolting is inevitable, but you can delay it and squeeze out extra harvests with a few strategies.
First, watch for that central stem beginning to elongate. The moment you see a flower stalk starting to emerge from the center of the plant, cut it off immediately. This often stimulates the plant to produce a few more leaves before trying again. You might only buy yourself a week or two, but that's several more meals of fresh spinach.
As temperatures climb, consider adding some afternoon shade. A simple shade cloth suspended over your spinach bed can keep things cool enough to extend your harvest window by several weeks. This is especially valuable if you're growing heat-tolerant varieties of heirloom spinach from quality seeds that are bred to resist bolting longer than standard varieties.
Plant succession crops every two to three weeks from early spring through mid-spring. This staggers your harvest and ensures that as one planting starts to bolt, another is just hitting its productive stride. By the time your last succession planting bolts in early summer, you can switch to heat-loving greens and start planning your fall spinach crop.
Bringing It All Together
Growing spinach for a constant spring harvest is really about working with the plant's natural tendencies rather than against them. Direct sow to avoid transplant shock. Build rich, nitrogen-fed soil. Thin properly to prevent crowding and competition. Water consistently to reduce stress. Harvest regularly from the outside in. Manage bolting by removing flower stalks and adding shade as needed.
Each of these practices supports the others, creating a system that keeps your spinach plants productive for as long as spring conditions allow. The reward is basket after basket of fresh, nutritious greens that taste infinitely better than anything you'll find at the grocery store.
There's a rhythm to tending a productive spinach patch: the regular harvests, the gentle thinning, the watchful eye for that first sign of bolting. It connects you to the seasons and to the ancient practice of growing your own food. And honestly, once you've tasted spinach harvested minutes before it hits your plate, you'll understand why it's worth the effort to do it right.