


There's something deeply satisfying about growing tomatoes from seeds you saved yourself. After years of working with heirloom varieties, I can tell you that seed saving isn't just about thrift: it's about preserving flavor, adapting plants to your specific growing conditions, and keeping gardening traditions alive. If you've never saved tomato seeds before, you're in for a rewarding experience that's surprisingly simple.
The beauty of tomatoes is that they're self-pollinating, which means the seeds you save will grow true to type. That Cherokee Purple or Brandywine you loved this year? You can grow the exact same variety next season without buying new seeds. Let's walk through the process together.
Why Save Tomato Seeds from Heirloom Varieties?
Before we dig into the how, let's talk about the why. Heirloom tomatoes are open-pollinated varieties that have been passed down through generations, and their seeds will produce plants identical to the parent. This is different from hybrid tomatoes, whose seeds won't reliably reproduce the same characteristics.
When you save seeds from heirloom tomatoes, you're doing more than just stocking your seed collection. You're becoming part of a living history. Each season, your plants adapt slightly to your soil, your climate, and your growing methods. Over time, you're essentially creating a landrace variety perfectly suited to your garden.
Choosing the Right Tomatoes for Seed Saving
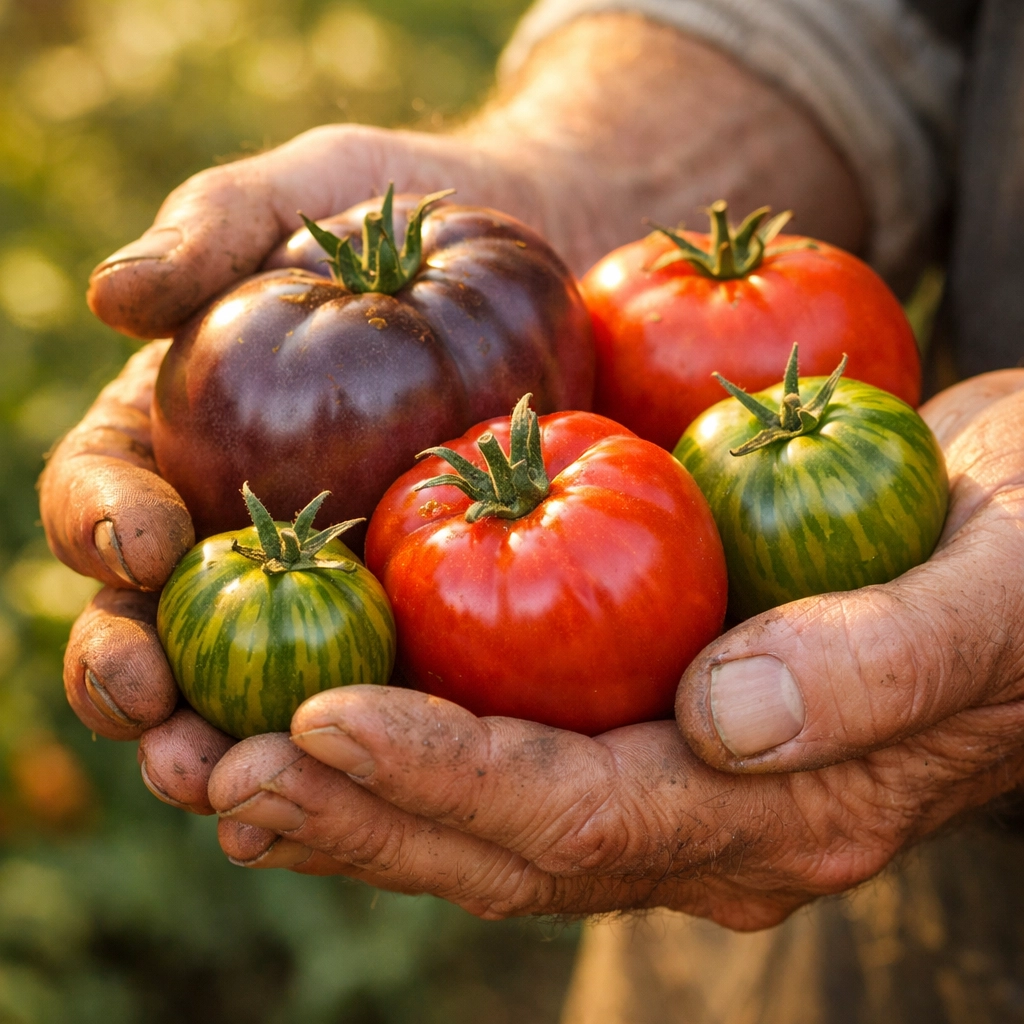
The first rule of seed saving is simple: start with the best. Walk through your garden and identify your healthiest, most productive plants. Look for tomatoes that showed disease resistance, vigorous growth, and exceptional flavor. These are the genetic traits you want to pass along.
Wait until your chosen tomatoes are fully ripe: and I mean fully ripe, not just "ready to eat" ripe. The tomato should be at peak maturity, showing its deepest color and starting to soften slightly. This ensures the seeds inside have fully developed and will have the highest germination rates.
Only save seeds from open-pollinated or heirloom varieties. If you're growing from seeds purchased at Farmer Flints, you're already working with quality heirloom genetics that will serve you well for years to come.
The Two Methods: Simple vs. Fermentation
You have two main options for processing tomato seeds, and honestly, both work well. The method you choose depends on how much time you have and how obsessive you are about seed cleanliness.
The Quick and Easy Method
This is my go-to approach when I'm processing seeds from just a few tomatoes. It requires no waiting, no fermenting, and minimal cleanup.
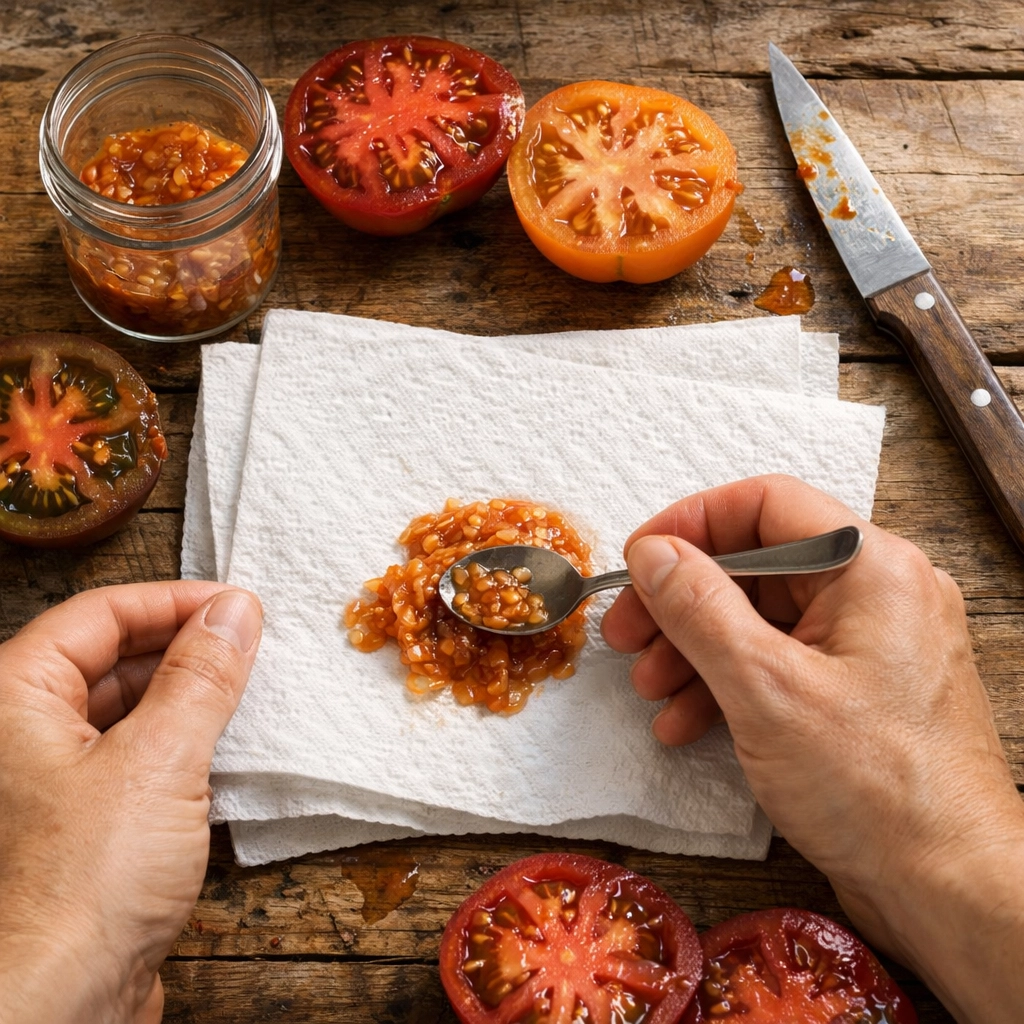
Cut your tomato in half across the middle (not from stem to blossom end). Gently squeeze or scoop the seeds and gel onto paper towels or a paper plate. Spread them out so they're not touching too much. The gel will dry right onto the paper, and that's perfectly fine.
Let the seeds sit in a warm, dry location with good air circulation for about a week. I usually put mine on a shelf in my garage. Once they're completely dry and crispy, you can leave them stuck to the paper and store them in an envelope. When planting time comes around, just tear off a piece of paper towel with a seed or two attached and plant it directly in your seed starting mix.
Seeds saved this way can maintain good germination rates for a surprisingly long time: I've had success with seeds stored for over a decade using this method.
The Fermentation Method
This approach takes longer but does a more thorough job of cleaning the seeds and removing disease organisms. In nature, tomato seeds ferment inside fallen fruit before germinating, so we're basically mimicking that natural process.
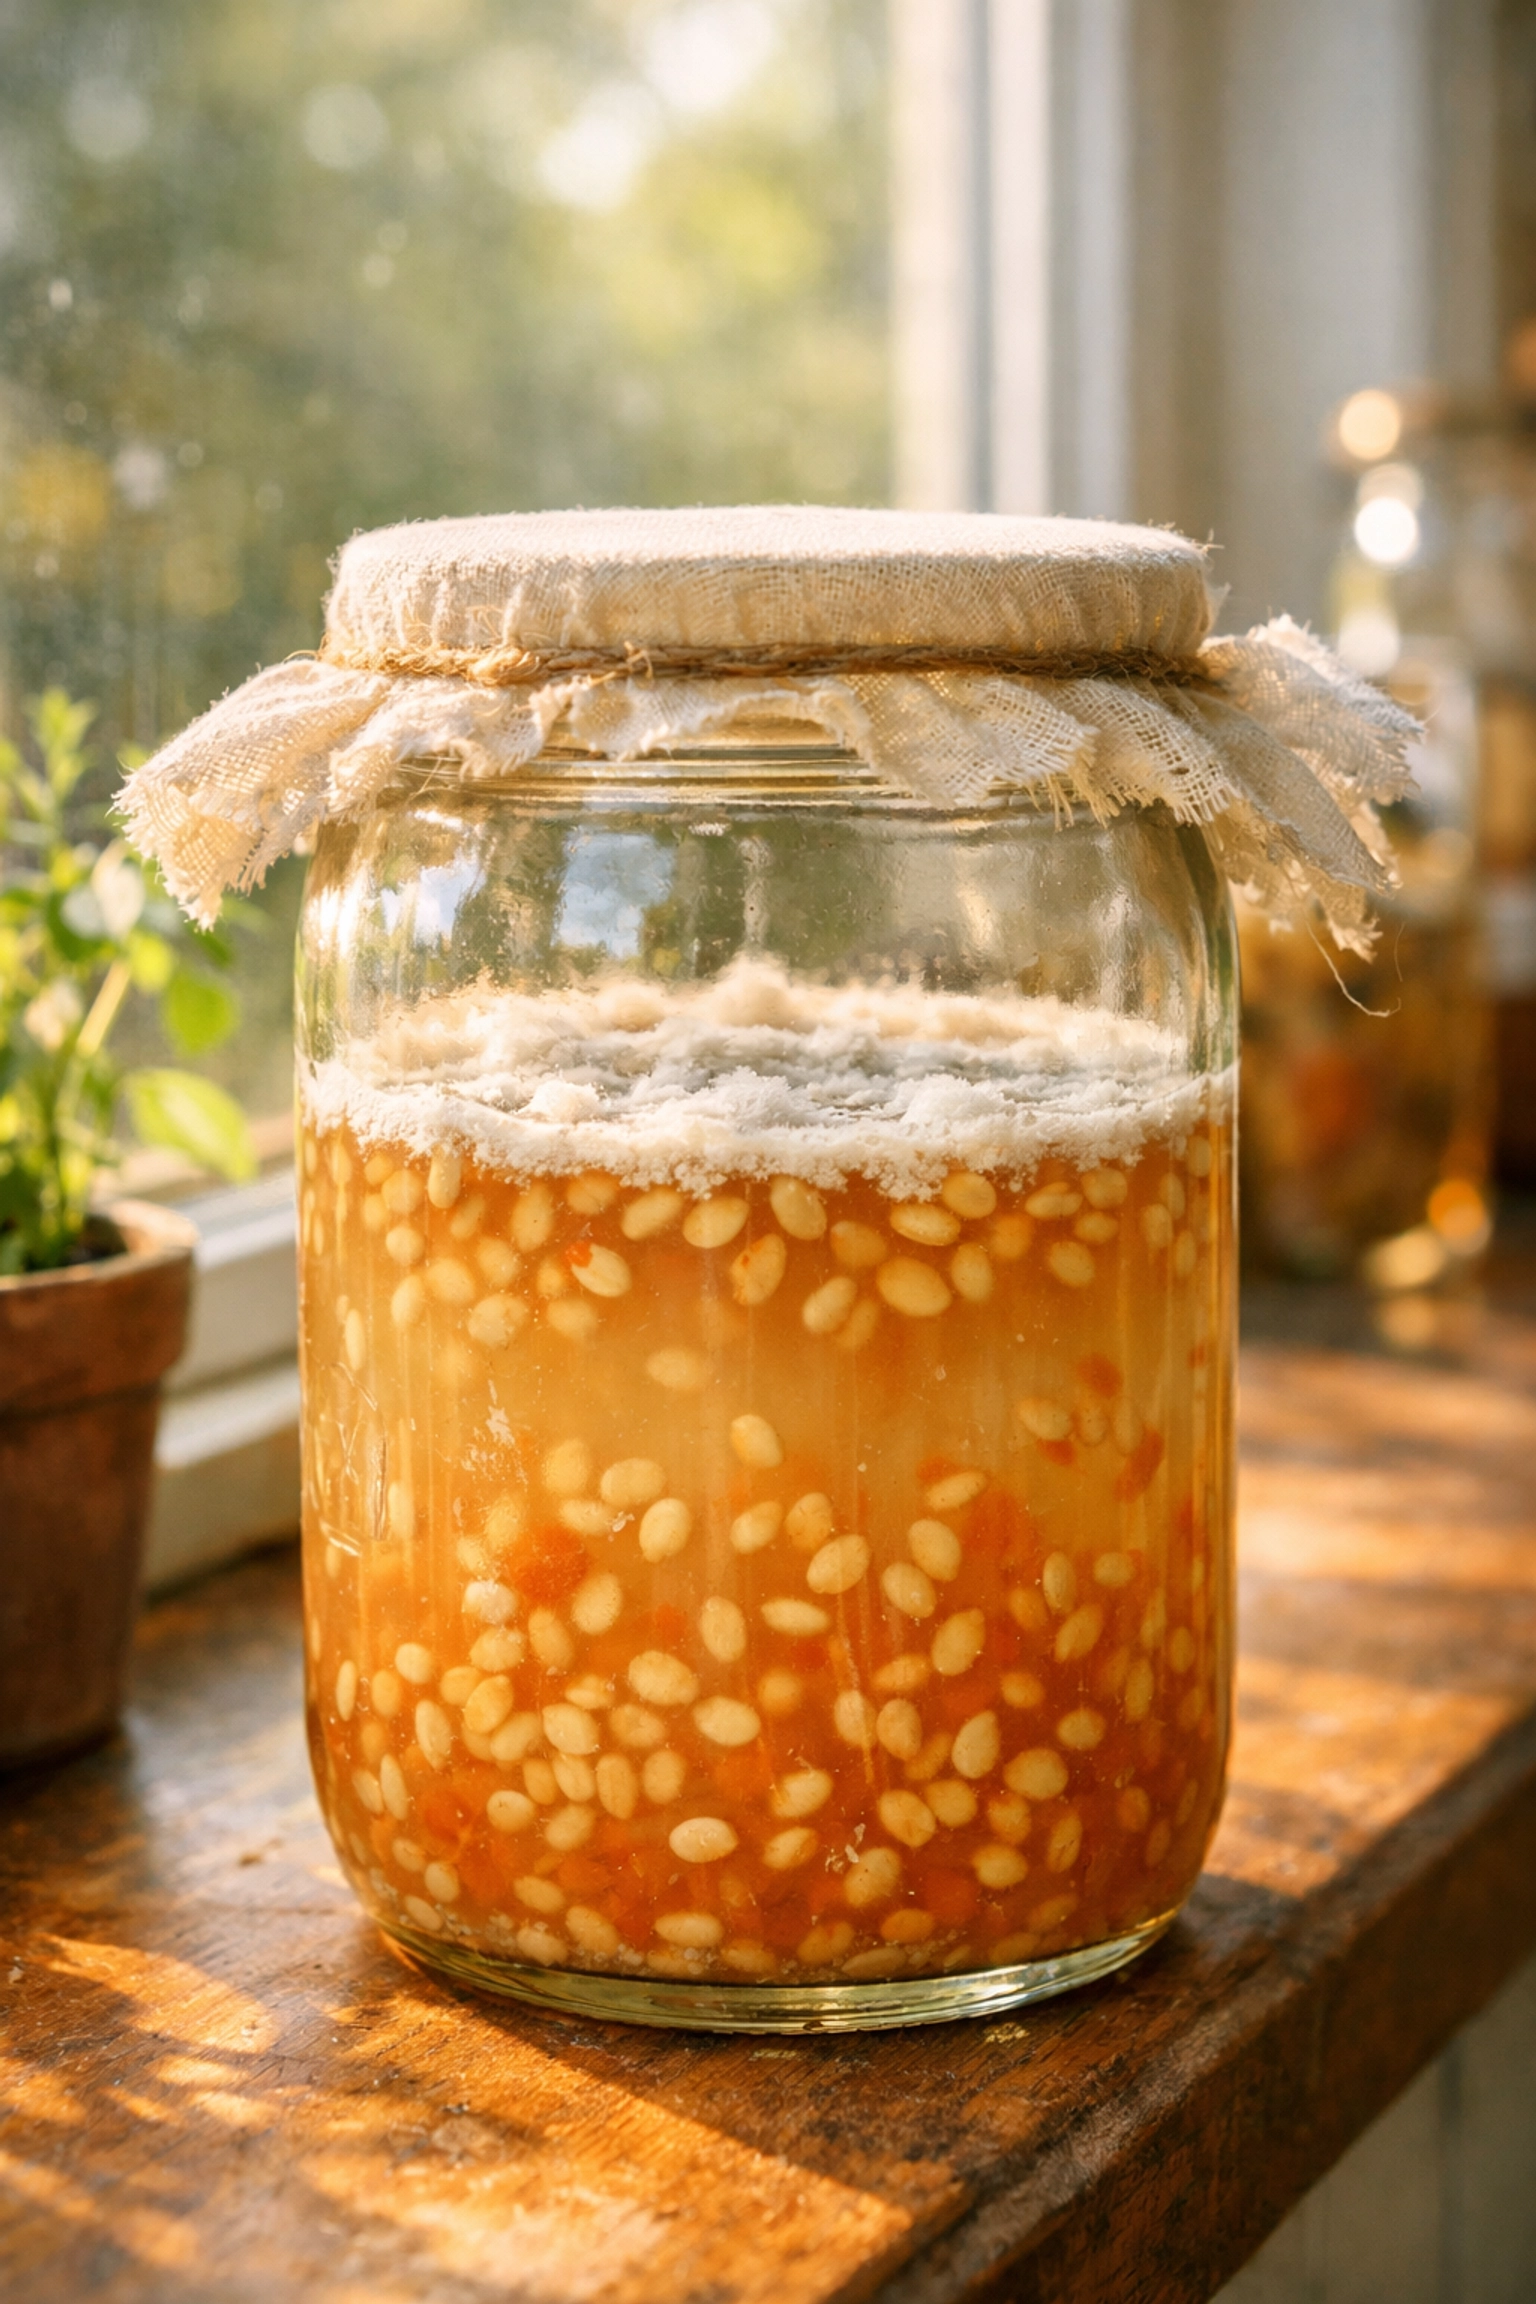
Scoop your seeds and gel into a small jar: a mason jar works perfectly. Add just enough water to cover the seeds, then loosely cover the jar with a lid or cloth. You don't want it airtight because fermentation produces gas.
Place the jar somewhere warm, ideally around 70-75°F. A kitchen counter works well. Within 24 to 48 hours, you'll notice a layer of white or gray mold forming on top, and the mixture will start to smell slightly funky. This is exactly what should happen.
After 2-3 days of fermentation, fill the jar about three-quarters full with water and give it a vigorous shake. The viable seeds will sink to the bottom, while the gel, pulp, and any non-viable seeds float to the top. Pour off the floating material carefully.
Repeat this rinsing process several times until the water runs relatively clear and your seeds look clean. The whole fermentation and rinsing process typically takes 3-7 days depending on temperature.
Drying Your Seeds Properly
Whether you used the quick method or fermentation, proper drying is crucial. Wet seeds will mold, and moldy seeds won't germinate. It's that simple.
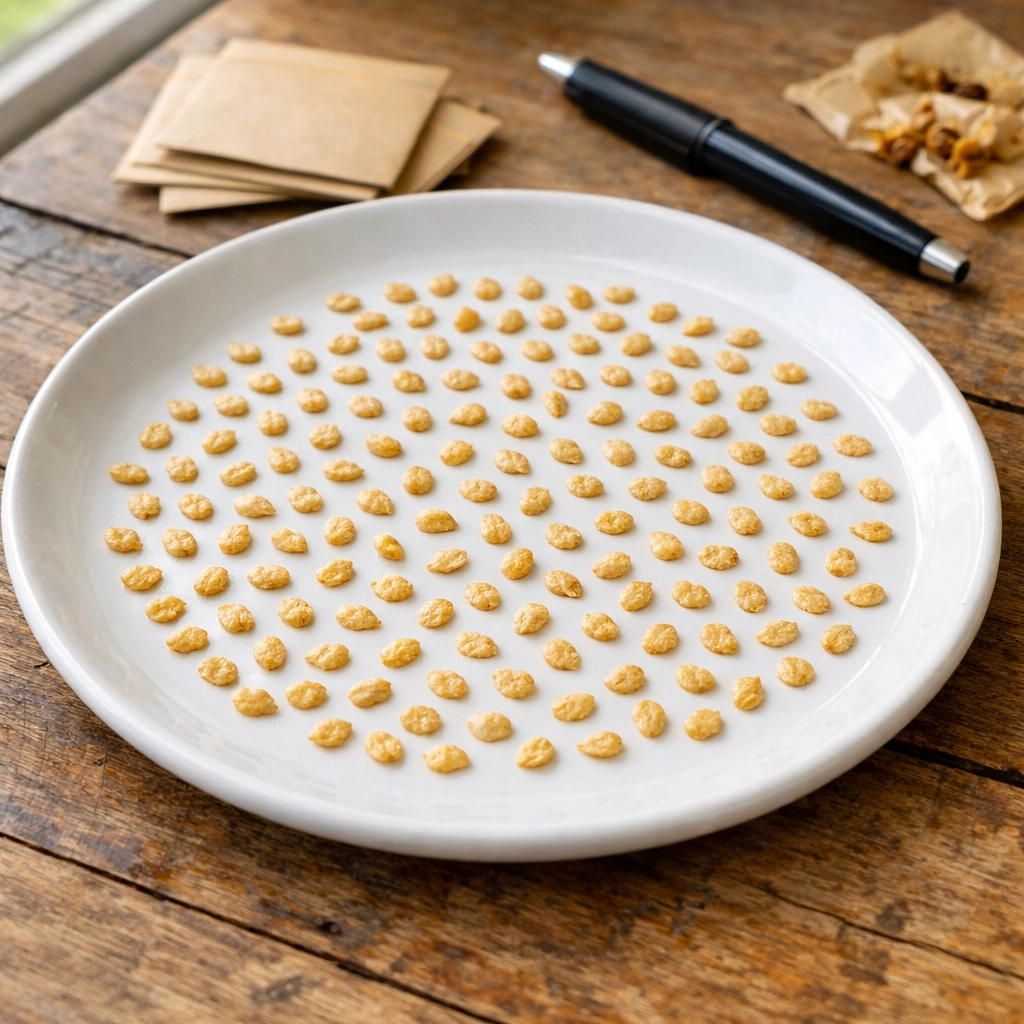
Pour your clean, rinsed seeds onto a ceramic plate, a glass dish, or a piece of wax paper. Never use regular paper or paper towels at this stage if you've fermented your seeds: they'll stick like glue and you'll never get them off.
Spread the seeds out in a single layer with space between them. Place the dish in a warm location with good air circulation, but out of direct sunlight. Flip or stir the seeds once or twice daily to ensure even drying.
This drying process takes about 7-10 days. You'll know they're done when the seeds are completely hard and brittle. They should snap rather than bend when you try to break one. If there's any moisture left, they'll spoil in storage.
Storing Your Seeds for Maximum Viability
Now comes the fun part: putting your seeds away for next season. Proper storage can mean the difference between 90% germination and complete failure.
First, label everything. Trust me on this. You think you'll remember which variety is which, but come spring, those little envelopes all look the same. Write the tomato variety name and the date you saved the seeds on every container.
Store your dried seeds in paper envelopes, small paper bags, or even repurposed seed packets. I prefer paper over plastic because it allows any residual moisture to escape rather than being trapped with the seeds.
Keep your seed collection in a cool, dry, dark location. A drawer in an air-conditioned room works well. For extended storage, you can keep seeds in an airtight container in the refrigerator, where they can remain viable for 5 years or more. Some gardeners even freeze their seeds for long-term storage.
Under normal storage conditions: cool and dry: tomato seeds typically remain viable for 4-6 years, though I've had success with seeds much older than that. Germination rates do decline over time, but even 10-year-old seeds often surprise me with their resilience.
Testing Old Seeds Before Planting
If you're working with seeds that have been in storage for a few years, it's smart to do a germination test before committing your whole seed starting operation to potentially dead seeds.
Take 10 seeds and place them on a damp paper towel. Fold the towel over the seeds, slip it into a plastic bag, and keep it warm (around 70-80°F). Check after 5-7 days. If 7 or more seeds have sprouted, you're looking at 70% germination or better, which is perfectly acceptable. If fewer germinate, you'll just need to plant more seeds to compensate.
Embracing the Seed-Saving Cycle
Saving your own tomato seeds transforms your relationship with gardening. You're no longer just growing plants for a season: you're stewarding genetics across years and decades. Each generation of plants tells you something about what works in your specific garden conditions.
The heirloom varieties available at Farmer Flints are the perfect starting point for your seed-saving journey. These varieties have been maintained through seed saving for generations, which means they're genetically stable and will reliably reproduce their characteristics.
Start small if you're feeling overwhelmed. Save seeds from just one or two of your favorite tomato plants this season. Next year, grow out those seeds alongside some new varieties. Before long, you'll have built your own collection of locally-adapted tomato varieties that perform beautifully in your garden.
The simple act of saving seeds connects you to centuries of agricultural tradition. It's sustainable, economical, and incredibly rewarding. Plus, there's something magical about handing a packet of seeds to a fellow gardener and saying, "These came from my garden." You're not just sharing seeds; you're sharing a living piece of your growing season.